Showing posts with label master bedroom. Show all posts

Monday, September 24, 2012

Little Projects Here and There

I've made little updates here and there around the house, so I thought I'd share some of those. This will be a picture happy post, but those at the best anyway. You guys don't want to read me ramble on and on about something that's self explanatory by a picture.


I've been slowly collecting milk glass for awhile now and recently put together this little dining room centerpiece. All three of these pieces were bought at my favorite local consignment shop for about $20 total.


This little vignette is a new addition to my bedroom. It's anchored by that awesome bamboo tray that I scored for $5 at Salvation Army. Here's what this spot looked like before...


 Pretty stellar improvement...if I do say so myself!


The office got a little update too. I purchased the new desk lamp at Walmart and picked up some baskets and the two bronze frames at Target. This space still needs some tweaking, but I need to live in it awhile before I decide exactly what that is. I'm not sure the blue desk is working or if it's the chair that's not or if I need to recover the bulletin board. Ahhhhhh......I'll figure it out!


Such a cozy spot to work at night. Don't cha think?!
 
 
I've also been working on some Halloween decor, so stay tuned for that! I'll leave you with a new picture of me. Sometimes it's nice to put a face with the blogger...


 Crystal xoxo


Thursday, July 26, 2012

$3 Bedroom Update {Lamp Shade Project}

My master bedroom often looks more like a hotel room to me and less like a reflection of my personal style. It's almost too staged and too empty, and it just needs some pizazz! The other night, I decided to start the process of making it a little more unique, more me and less cookie cutter.

Since I do generally like the way the space looks, I wanted to ease myself into these changes, so the first one was quick and easy.


You might remember how my sconce shades looked before...


Plain.

I went to Walmart on a hunt for some extra wide bias tape and ended up scoring the perfect shade of blue. I bought two packages {less than $3 total} and went home. Please note: Bias tape is thicker than ribbon, not so slippery and easier to work with for a project like this.


I plugged in my trusty glue gun, unscrewed the shades and took a seat on my living room floor.

First, I put a bit of glue at the bottom of the shade's existing seam {the "back" of the shade that you would face toward the wall} and placed the blue bias tape where I wanted it along the bottom of the shade. I let the glue dry and pulled it snugly around the shade. Making sure it was straight and even was actually pretty easy, because I just followed the existing lines of the shade cover. I pulled it back to the seam, overlapped and secured with another dab of glue and trimmed the excess. I decided not to glue all the way around the shade, so if I ever want to remove the bias tape I can with no visible damage! The only glue spots are on the back.

Lastly, I just repeated at the top of the shade and did it again to the top and bottom of the next shade. The entire project took less than 20 minutes. Seriously. It was super quick and easy!

Here's another look...


Let's see another before and after


The subtle touches of blue really warm up the space. The two blue accent pillows were $4/ea clearance items from Lowe's, and the blue throw blanket was a $19 clearance buy at Target. I like how the new touches of blue on the bed pick up more of the blue from the existing bed skirt and pillow shams. Together they make the bed look more welcoming. I also like how the blue is balanced more evenly throughout the room by pairing it with the blue in the prints hanging near the window. Before there was too much brown and khaki. It made the room feel darker and heavier than I like.


I'll leave you with another pretty Instagram shot. Sweet dreams!


Crystal xoxo

Thursday, October 27, 2011

Knock Off Ballard Designs Mirror

I recently scored this mirror for $27 at a local consignment shop...


It solved my "marriage monogram" issue well...


BUT I wasn't sure how much I really liked it, so I decided to live with it for awhile before painting it {a shade of cream was the direction I was going}. I bought it because it was a STEAL for the size, and it was brand spankin' new!

Then, last week, I got my latest Ballard Designs catalog. I couldn't believe it, when I saw THIS...


It retails for $259! Needless to say {in that very moment} I fell in LOVE with my bargain mirror! I'm not so sure I'll be painting it now...

What do you think?!


Thursday, September 29, 2011

Home Tour: Taking Back Space After Separation

Since Ryan left, I've felt a tremendous urge to make our room more MY room! Of course, I have had very little money to do this, but I've made a few small changes. These few changes have given me some control over a space that could otherwise bring me down....way....way....down.

The first change I made didn't cost a cent. I filled the giant gap his clothes left in the closet {and filled up his empty bedside table drawers}. Don't be fooled. I couldn't bring myself to do this for weeks. Something about it just felt so final.

Eventually, I decided that I hated the reminder I got every time I opened the closet. I decided that it was making me feel worse and stuck and...depressed. THAT'S the day I did something about it! Of course, he had way more clothes than I did, so I just took the hangers and spread them out. Then, I divided my sweaters and sweatshirts into two groups and filled his former sweatshirt shelf with my sweaters. Lastly, the few shoes I had on the floor went into his shoe shelf, and I was finished. My stuff was spread out. I could breathe, and all that extra space reminded me that one day I'll have a full time job again. Then, I'll be able to finally afford to go shopping and fill it up {with some hot date clothes maybe...}. Hey, a girl's gotta dream!

The next change was easy too. I just took this pillow...


and turned it around...


I thought the little brown pillow added texture and a touch of femininity, so I threw it on there too. I'm still deciding if I like it or not. {$7 Walmart clearance find}

The next change was a bit out of necessity, for me anyway. Our old blue curtains were thin and see-through, and I didn't feel safe, since my bedroom faces the street...


Call me a baby, but I'm a scatty cat, and sleep is important to me! I replaced them with lined, chocolate brown curtains I found on a Target end cap for $12! I hung them up, but it didn't give the exact impact I wanted, and since they were a clearance item, I knew I better scoop them up. The next day, I went back and got another set!


Much better! I think it adds drama, a touch of romance, and they coordinate well with the little brown Walmart pillow. I also scored those two prints for $15 at T.J. Maxx. Don't you just love to turn a T.J. item over and see those little red clearance stickers?!

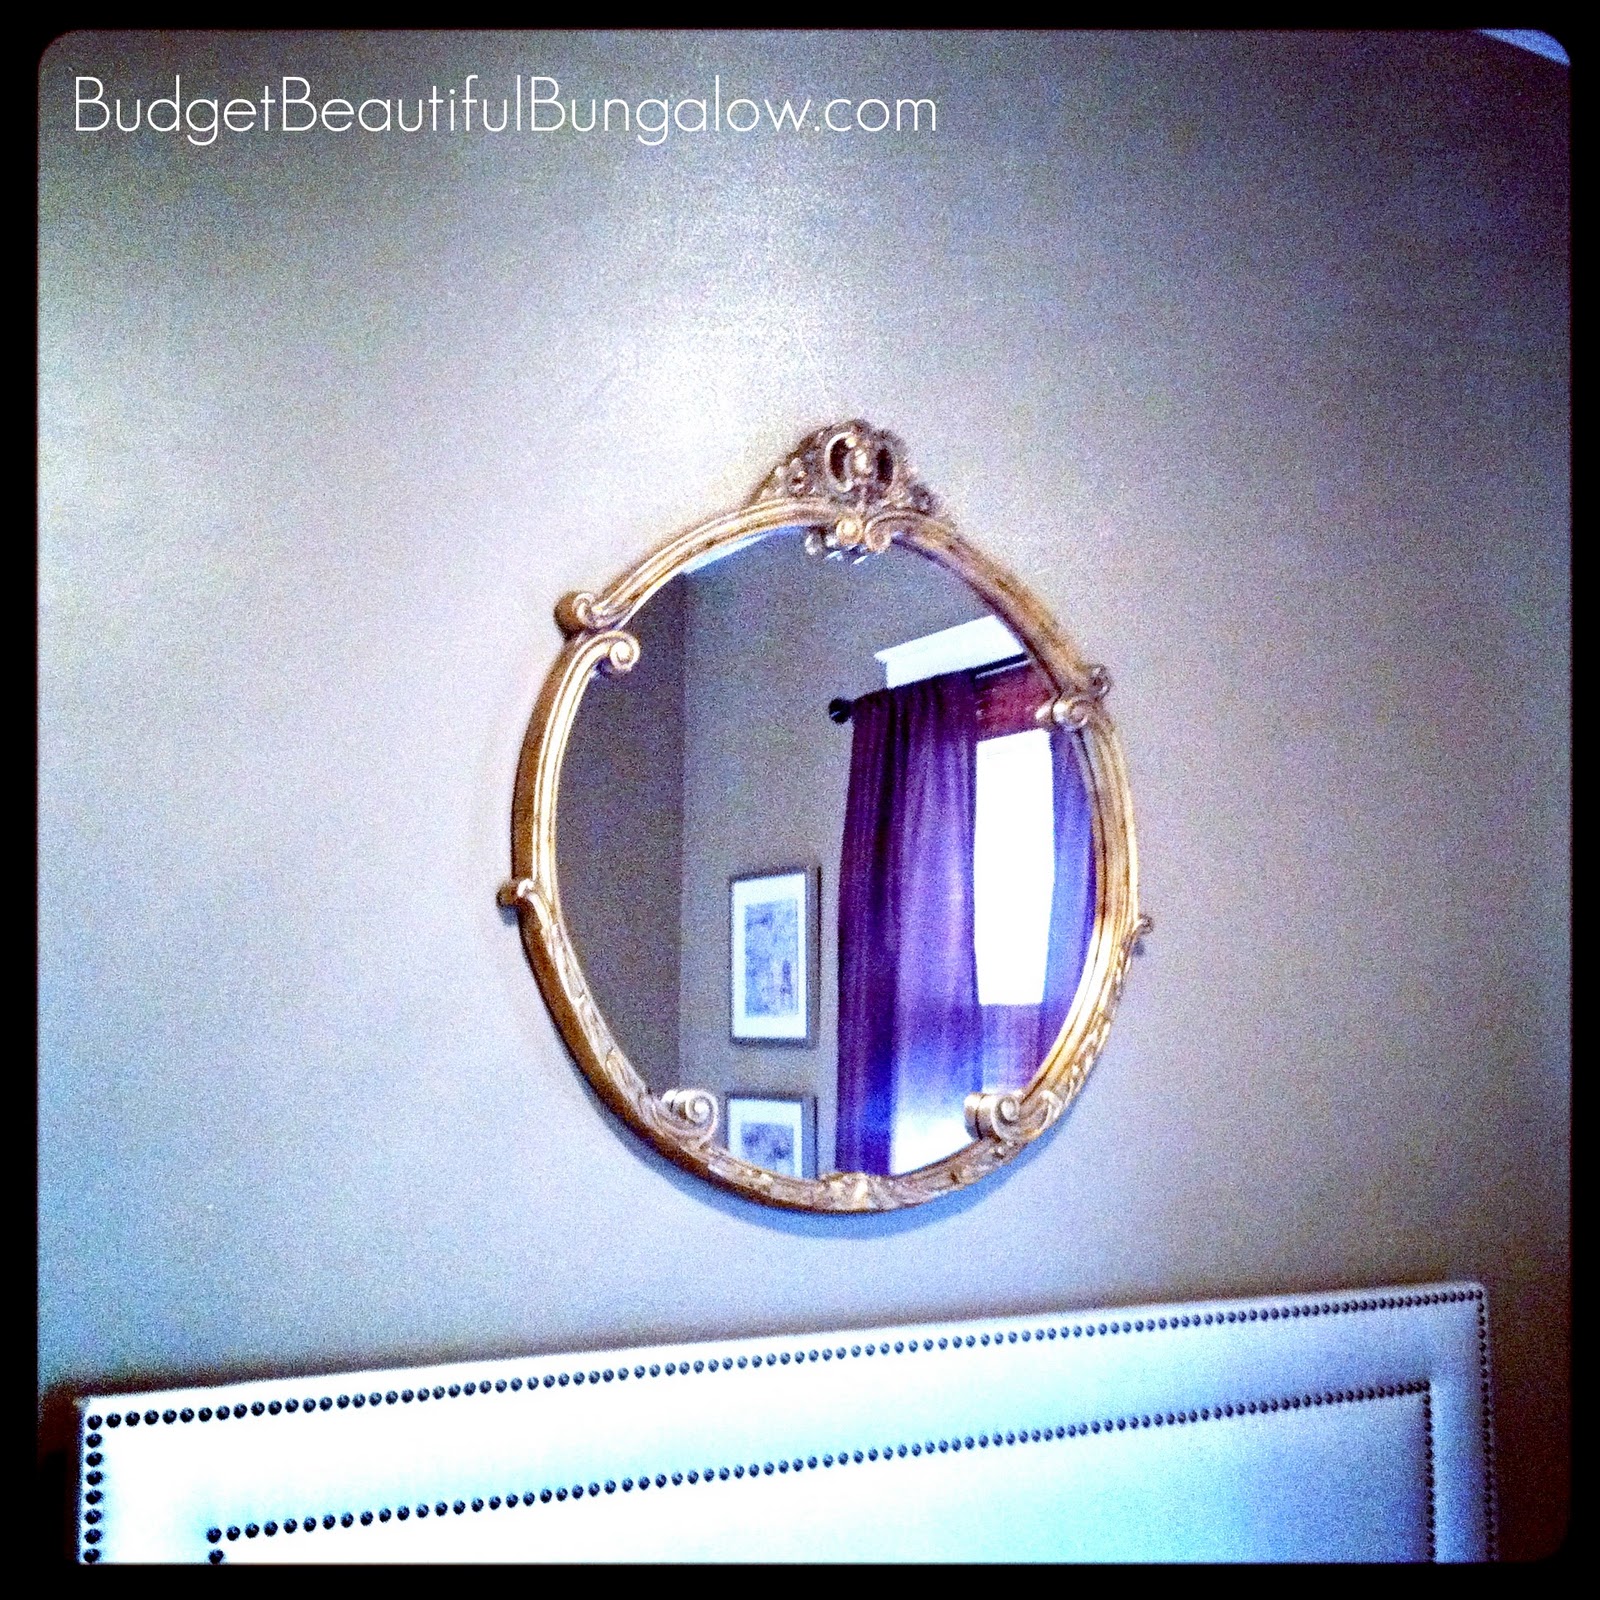
There's still some changes I'd like to make...


Even though I'm keeping my last name, that "A" just represents our marriage bed. Since it's most definitely not that anymore, leaving it there would be like a constant reminder of who used to share it with me. It just has to go...eventually...when I can afford a cool mirror big enough to cover it!

I also still have one of our wedding pictures framed on a bedside table...


I've taken up sleeping on his former side, so I don't wake up looking at it anymore, but I'll replace it as soon as I get around to printing one of Preston I like. Baby steps, people. Baby steps! {Notice that I still use Preston's baby monitor too, but I don't like it in plain view, so it gets hidden behind the display.} The frames and candle were originally from T.J. Maxx. The book was from a garage sale.

If you're going through a divorce, or have gone through one, what was one of the first things you did to take back your space?!

EDIT 10/3/11:

Since originally writing this post, I have replaced the wedding picture next to my bed!


I got lucky enough to stumble upon this GREETING CARD on clearance at Pier 1 Imports. It was just $1.98, and I simply cut it to fit! I am thrilled with the symbolic results, and it makes me smile every time I look at it!


Wednesday, June 29, 2011

Master Bedroom Closet Reno

I haven't featured our master bedroom yet, because it's "done", but it isn't done. I'll take you back to the beginning, and slowly, we'll get up to speed together!

In desperate need of more closet space...

Yes! That really was the closet we BOTH shared!


Ryan, with the help of a friend, got to work...{Warning: These photos may induce a panic attack!}


It was at about this point that Ryan told me he really didn't know what he was doing and may have exaggerated his abilities and experience. Terrific. {Love you, babe!} Then, I woke up one morning and noticed the roof had leaked right above the work he had just accomplished. Perfect.


Needless to say, we took a little break to get a new roof. Some things are necessities, but thank goodness for insurance! They allowed some money to patch and re-texture the ceiling {Note: I do not love textured ceilings. Who does? However, we didn't have the know-how or desire to scrap them, so we just didn't! You can call me lazy!}, so I started getting quotes to fix it. In doing so, I sort of asked for quotes to finish up the drywall sanding and make it as sooth as humanly possible {it was anything but at this point}! In my mad hunt for a talented individual willing to work for soup and crackers, I found someone who was willing to patch and texture the ceiling, finish off the drywall mess, add trim to the inside of the closet AND paint the entire room for....wait for it.....$450!!!!!! I know. I couldn't believe it either!

As soon as that was done, we got to work with the closet system.


All that was left was the doors, outside trim and new carpet. We needed carpet because the hardwoods were already in rough shape, and then the closet reno really did a job on them too. It was a necessity! Trust me. Anyway, this is what we were left with...


Ryan had the biggest issue with the empty space above. While decor is always on my mind, he insisted we needed a TV up there. I finally caved and used it as a great excuse...Happy Birthday, honey!


Besides the TV, the space is empty, and it's been bothering me! Really. Bothering. Me. I've been searching all of my usual discount hot spots, and I think I finally found the perfect accessories today!


If you look really closely, you can still see the Ross price tag on the plate. I always leave them on, during my "Stage and Stare" time. This way, if I decide I don't like it, I can always take it back! What are your thoughts? It might not be to perfect scale, but I think I'll probably add a wicker lidded basket later on. The total cost invested for accessories? $21.97 plus tax!