Showing posts with label DIY. Show all posts

Tuesday, November 20, 2012

$13 Handmade Halloween Costume

I have finally nailed down a full time position at work. You're looking at the newest Appliance Sales Specialist at my Lowe's store, but I still need to live frugally! While my time is even more limited now, this year I decided to make Preston's Halloween costume again and save a little moolah.


Now, I love to craft and create, but I'm no seamstress. The idea for the Mr. Potato Head costume was sparked by my little spud himself. He's in a serious Toy Story phase, and I wanted him to be excited  about whatever he was going to be too. He's getting old enough now to be very well aware of what I put on his body. He has an opinion about it too of course, and we've already gotten in a few morning clothes disagreements! He wasn't thrilled with me here either though...


It took one trip to Walmart for material and felt, and I got started. I had no real plan in mind-just a blurry vision of what I wanted. First, I simply traced his body and cut out two potato shapes. Then, I measured straps and hand sewed them in place. Using styrofoam balls, I created the eyes by covering the balls with white fabric and adding felt details. The face pieces were made of felt and hot glued together and in place on the potato. I stuffed each face piece with scrap fabric to give a 3-D effect.


Lastly, I created a butt pocket on the back with left over brown fabric {whatever fabric I bought didn't fray, so I didn't have to hem the edges of the costume}. Then, I hand cut a few additional traditional extra pieces, from felt, and hot glued them in place. The Playskool logo was found online and printed on card stock. I hot glued that in place too, and it held up all night!


I ended up hand sewing a small side panel under each arm. This kept the costume in place on his body well. A white shirt, white mittens and black hat later, and the costume was complete! Total investment was just $13!


P.S. Thanks for reading and following along. This marks my 100th post!


Crystal xoxo


Tuesday, September 18, 2012

Address Canvas Art

It's been awhile since I got out some craft supplies and created something for myself, but I got the itch tonight!


I have an excess of 8x10 blank canvases {thanks to a stellar Michael's sale}. I also have tons of paints and permanent markers and a small collection of skeleton keys, but it's my Martha Stewart stencils that have been begging to come out and play...
 
 What I'm getting at is that this little project was FREE!
{and you already know I cannot get enough of that}
 
 
I measured out the middle of the canvas first. Next, I mixed my own shade of gray acrylic paint {with a dark gray and some white}, and stenciled away. Then, I wrote out my street name free hand with a green marker and went over it with a gray one to add a little detail and interest. Lastly, I glued a skeleton key in place.
 
{Voila}
 
Quick and super easy!
 
I happen to think it's pretty cute too, and the imperfections just add a little bit of charm. After all, this bungalow is anything but perfect. It's also kind of fitting that our front door lock is original and also a skeleton key hole...


Crystal xoxo

Thursday, August 9, 2012

No Sew Curtain Hems


One of the bungalow's biggest assets is it's tall ceilings and tall windows. They allow the entire house to feel so much larger than a two bedroom home, but with big windows and tall ceilings you get areas that need longer curtains. I cannot do typical 84 inch curtains, and this drives me crazy! They are simply more affordable and readily available at retailers in an array of fun fabrics, so I get frustrated. I'm stuck searching for 95 inch curtains on a barely there budget, and that's no easy task...

I only have one window in the living room, so I only needed two panels. That's the good news. The bad news is that every curtain I found and could afford didn't come in the longer length I needed. Finally, I settled on some plain white panels for $12.99 each at Target. They were 95 inches, but when I got them home and hung, they were even too short.


They also lacked the wow factor I look for in window treatments. I kicked around ideas of stenciling them and taping them off and painting stripes, but those projects just ended in a fail. In fact, I ruined one panel and had to go back to Target to replace it. I even tried hanging a new, more substantial rod one night that I scored for $2.97. Take a look at how that ended up...


I was starting to feel defeated. I put the original rod back in place and tucked the new one back into my closet.

After racking my brain and looking at the boring panels in dismay for weeks, a light bulb came on. I had plenty of fabric left over from my stool project. I originally bought two fabrics, because I couldn't decide in the store which to use. It was only $7.99 worth of fabric left {one yard}, but it would be enough!

Just in case you missed it, here's the little stool...


Anyway, I'm impatient. I also don't own an actual sewing machine of my own {I borrow my mom's when I desperately need to}, BUT you bet your booty I have the BEST tool known to resourceful DIYers....a hot glue gun! I think you know where I'm going with this...


Yep! I just measured and cut the fabric to length {leaving slack for hems}. Then, I figured out how wide I needed it to be, so the finished curtains would just brush the floor. After I had my measurements right, I folded the new fabric in half, folded both top edges in and secured with hot glue. This way I had a solid strip that was finished on both sides and all the way around. I basically just glued where I would have ran a sewing machine to accomplish a finished piece. Folding the fabric in half also gave the strip more weight, so it would hang better.

I also turned in the edges on both ends and secured with glue. For the last step, I just lined my finished strip up with the existing curtain hem and glued them on using the white curtain panel hem as a straight guide. It was really easy and only took about an hour to complete the entire project! Of course, I'll never be able to wash them, but I'm not really a wash the drapes kind of chick...


I'm really pleased with the entire outcome. Now, I just need to glue/sew/buy a throw pillow for the chair...


and the before again...


That same night I framed an awesome new piece of scrapbook paper for my gallery wall.
{$.50 update}


Who's busting out their hot glue gun tonight?!


Crystal xoxo


Thursday, July 26, 2012

$3 Bedroom Update {Lamp Shade Project}

My master bedroom often looks more like a hotel room to me and less like a reflection of my personal style. It's almost too staged and too empty, and it just needs some pizazz! The other night, I decided to start the process of making it a little more unique, more me and less cookie cutter.

Since I do generally like the way the space looks, I wanted to ease myself into these changes, so the first one was quick and easy.


You might remember how my sconce shades looked before...


Plain.

I went to Walmart on a hunt for some extra wide bias tape and ended up scoring the perfect shade of blue. I bought two packages {less than $3 total} and went home. Please note: Bias tape is thicker than ribbon, not so slippery and easier to work with for a project like this.


I plugged in my trusty glue gun, unscrewed the shades and took a seat on my living room floor.

First, I put a bit of glue at the bottom of the shade's existing seam {the "back" of the shade that you would face toward the wall} and placed the blue bias tape where I wanted it along the bottom of the shade. I let the glue dry and pulled it snugly around the shade. Making sure it was straight and even was actually pretty easy, because I just followed the existing lines of the shade cover. I pulled it back to the seam, overlapped and secured with another dab of glue and trimmed the excess. I decided not to glue all the way around the shade, so if I ever want to remove the bias tape I can with no visible damage! The only glue spots are on the back.

Lastly, I just repeated at the top of the shade and did it again to the top and bottom of the next shade. The entire project took less than 20 minutes. Seriously. It was super quick and easy!

Here's another look...


Let's see another before and after


The subtle touches of blue really warm up the space. The two blue accent pillows were $4/ea clearance items from Lowe's, and the blue throw blanket was a $19 clearance buy at Target. I like how the new touches of blue on the bed pick up more of the blue from the existing bed skirt and pillow shams. Together they make the bed look more welcoming. I also like how the blue is balanced more evenly throughout the room by pairing it with the blue in the prints hanging near the window. Before there was too much brown and khaki. It made the room feel darker and heavier than I like.


I'll leave you with another pretty Instagram shot. Sweet dreams!


Crystal xoxo

Thursday, May 17, 2012

Before & After: Two Projects Under $20

I've sort of lost steam in the bathroom, but I have been productive in a few other ways. Don't worry. The bathroom will get done...eventually. I can't live in ruins forever!

In the meantime, let's take a look at some of my FINISHED tasks. Shall we?!
First up, if you're a Facebook fan, you may remember this little $5 stool I picked up at a local antique mall.


Half a yard of fabric later {$3.75} and a staple gun, and I had THIS for under $10!


There was the great debate on whether I should paint the legs or not, and you can see that I opted not to. The wood was in almost perfect condition and too beautiful to touch, and I can always do that later, but for now I'm super happy with the outcome! Trust me when I say this project was really easy too. This is only the second time I've ever recovered something, and I was amazed at how quickly it went! I even lined up the Greek key pattern almost perfectly, if I do say so myself.
Onward. Project two is another one with Facebook mention. You might recall that I scored some great tiles for $1.73/sheet. If you're not up on the price of tile, that's an AMAZING price! I ended up buying the store out and only ended up paying around $20 for the loot.
Here's a look at what my fireplace looked like before. It was worn and ugly and still proudly held the bungalow's original 1940's brown squares.


A coworker of mine ended up helping me out in a major way and installed it for FREE on his day off! I am so appreciative of all his hard work and friendly gesture. Thanks for being a good sport Chris and posing for a bloggy pic too!


Drum roll, please....


$20 CAN refinish a fireplace. Who woulda thunk it? Open those eyes ladies and be resourceful bargain shoppers. It pays off in such a major way!
As you can see, I have yet to dress the fireplace. I'm actually working on a little project {with major impact} for the built-ins, and I'm also considering painting the inside brick now.
As with any older home, the floor was anything but level, and there are some areas that had to be heavily caulked in the back, so I think a few coats of paint on the brick will hide that well. It turns out that these smaller mosaic tiles were perfect for a not so perfect area though. Chris says these smaller tiles are more of a pain to deal with, but they are more forgiving with an uneven area.
Please note: This fireplace will be used for decorative purposes only. You should not build a fire over tiles such as these, and our chimney was capped when we bought it.


This post has been linked to


Crystal xoxo

Friday, April 6, 2012

Super Cheap DIY Home Fixes

First of all, AdSense is live on the blog! Yippee! I told myself I'd add advertisements to BBB once I hit 50 followers, and it took me a little bit, but I did it! This is me doing my happy dance and hoping this is the beginning of wonderful things here...

Okay. Back to the subject at hand.

I started looking around my house today and thinking. I'm kind of in a rut lately. A major rut, and it's effecting my mood and the state of our dwelling. I'm self diagnosed with O.C.D. My home is usually organized to a T, and it just isn't lately. Although motherhood has loosened me up in that way, deep down my inner O.C.D self wants to get out a label maker and hang my shirts by color and sleeve length! Ya know?

The bathroom reno is not moving as fast as I'd like it to, the house is no where near as neat as I normally keep it, and I just zoom back and forth to work. I hardly have time to eat and just focus on mommyhood, and I'm drained! Period. Then, I started thinking. What, besides my sweet boy, makes me happy? Well, that took all of TWO seconds to answer. My home. Decorating. Organizing. Writing. Everything that I love about my blog and yet never seem to carve out much time for lately. At that very moment, I turned around and kicked myself in the booty. {Not literally though. I'm not an acrobat.}

I thought, "Crystal, you have a TON of ideas to share with readers, so start DOING something about it. Right now!" Well, right now had to wait, because I had to get to work, but I'm doing something about it now. At 3am. After I got home, visited with my babysitter {my mom}, hung some new ferns on the porch {that I got an awesome deal on at work} and ate. Now, I write. When most of the world is sleeping. This is my life, and I'll be tired in the morning when that little voice calls out to me, but I'll live, because this mommy needs some serious, productive "me time".

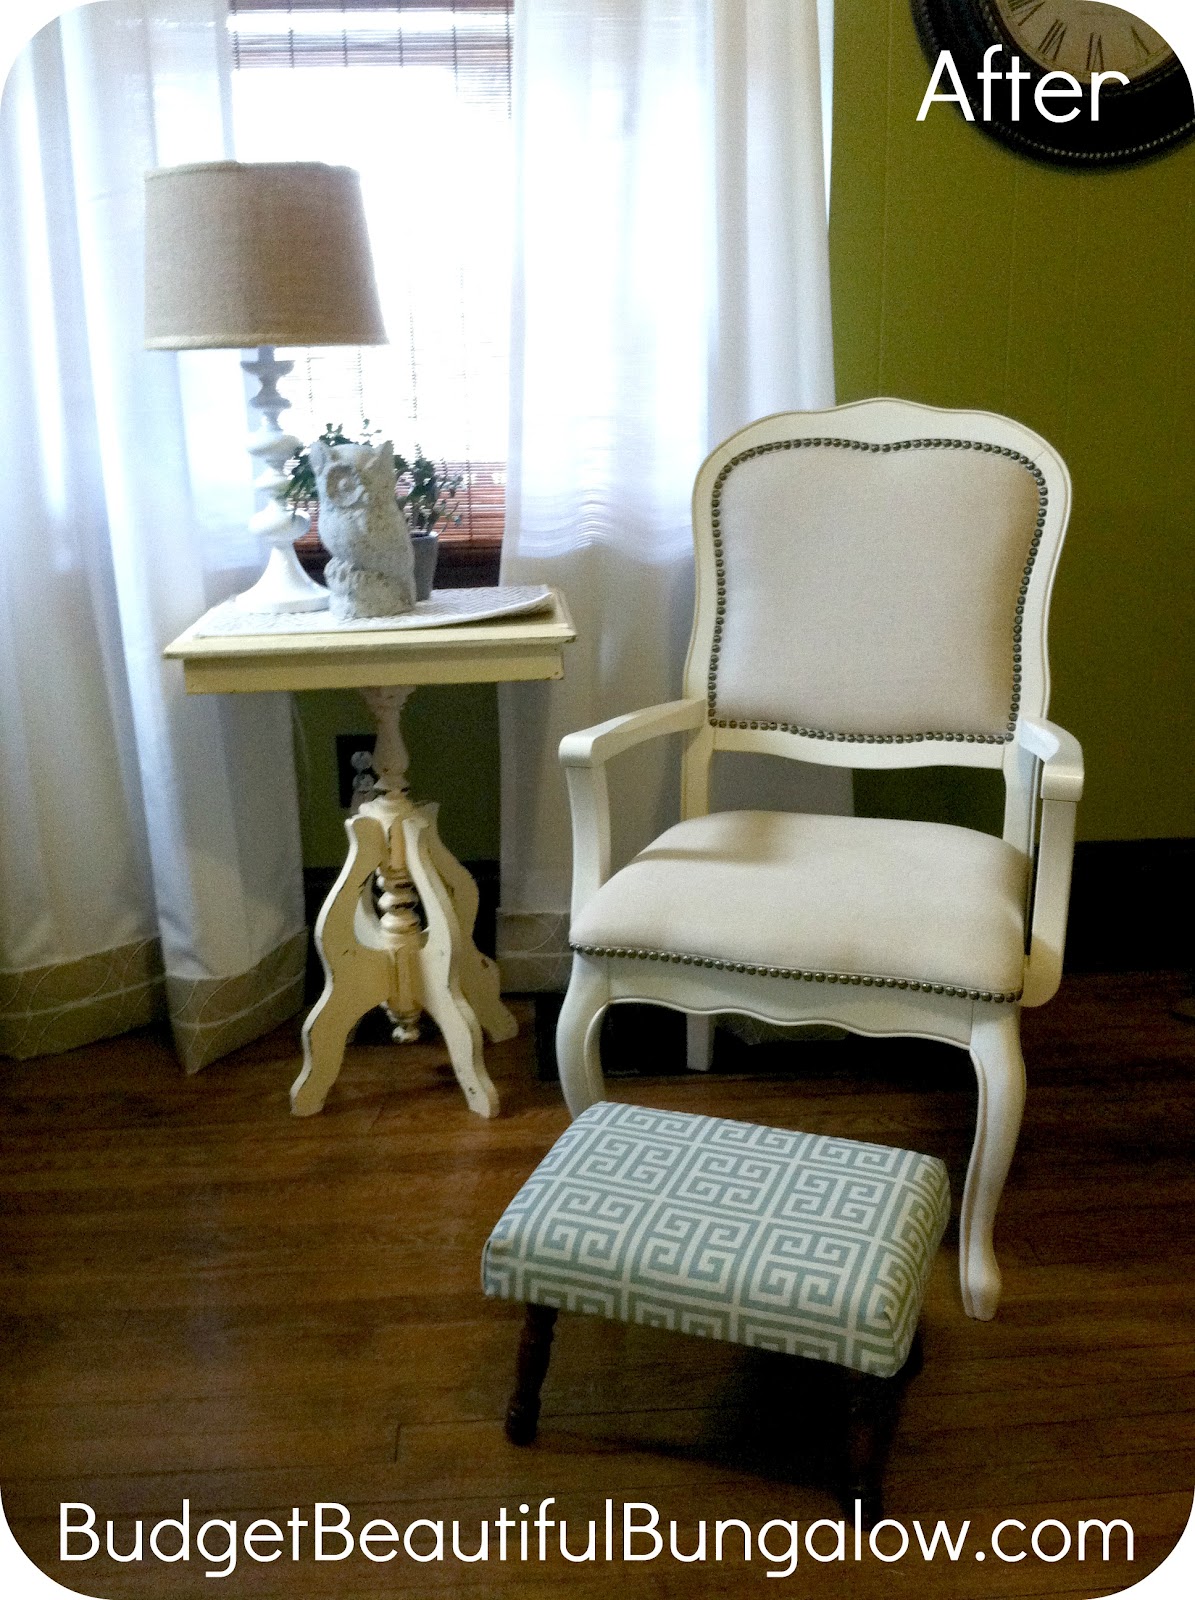
I don't have any pictures to share, because that requires actually taking pictures in decent light {and it's dark out} and actually editing them {and that takes a ton of time}, but I did want to share some of my super cheap DIY home fixes I've picked up along the way.

Our bungalow was built in 1941 {so the papers say but I suspect it's older}, and it still has the original heat vents. They're black, old, beaten up and UGLY, but they're also an odd size, and the sizes vary from room to room. I've tried buying replacements, but stores don't carry anything their size. I've looked into ordering them, but they're super expensive. Instead, as I've moved through redoing each room, I've spray painted them! I know what you're thinking. Who cares about heat vents! Right? Most people probably don't, but I do. It's the details to a home that pull it together!

In keeping with our home's age and original existing hardware, I've gone with antique bronze finishes on every metal surface-light switch plates, light fixtures, door knobs, hinges, faucets, and even my toilet flusher thingy! Doing so helps add flow and unity to the entire house, makes it custom to us and also gives off a higher-end feel {in my opinion}.

Because these changes can be expensive, I've just moved from room to room and repeat bought everything as needed. Thank goodness Lowe's has continued to carry my switch plates for the past three years! For anything that can be spray painted {like the heat vents}, I just use an antique bronze spray paint {whatever brand and shade I find at the store when I need it}. Just make sure you wash and dry any surface before application. Sometimes I prime, and sometimes I don't. It just depends on how much extra money I have at the time and if I want to shell out an extra $5 for spray primer!

Tip number two is seriously super easy and super cheap!

Our house has 98% of it's original woodwork. In the living and dining rooms, it hasn't been touched! Yippee! Cancel all of that excitement though, because the room's walls have been painted. Many times, and the previous owners haven't always been very careful.  This has left behind a gazillion tiny {and not so tiny} paint splatters all over my otherwise beautiful trim and baseboards. I happen to have a HUGE permanent marker collection with a ton of different shades of brown, and I happened to find one that was almost an exact match to my woodwork. I think you know where I'm going here...

I just started in the living room, sat my happy butt down on the floor and moved around the entire room with my little marker coloring each of those paint splatters. It was THAT easy, and the results were fabulous! It did take some time, but it was totally worth it. Just make sure you test those different marker shades out in an inconspicuous spot!

I'll leave you with a picture of Preston's room that you've seen before. This is the only exception to my above spiel. His room doesn't have a "metal finish". I accent his room with red and white, so we spray painted his vent red. It adds a touch of whimsy and acts as a small element of surprise. It is hard to see here. It's hidden under the table mostly, but I just used leftover red spray paint from that cute little lamp! The lamp was originally silver and sat at my desk for years prior to having him. It just found new life here! {clicking the picture should make it larger}


Crystal xoxo


Thursday, March 8, 2012

Preston's Toddler Room: As Easy as 1, 2, 3

You might remember this original post showcasing Preston's 3-in-1 easel. I have had so much fun watching him explore his artistic ability and strengthen his fine motor skills with his easel, and it's EASILY my favorite DIY project to date! I mean what's not to love?!

My only issue was finding some way to store his supplies in a handy cute way.

I racked my brain for creative solutions. Then I had an idea. I was going to keep it simple, but I needed three pails. The hunt began, and I looked and relooked everywhere. Nothing was right, or they didn't have enough on hand. I was getting frustrated!

Last week, I finally found the perfect shade of red pails at Hobby Lobby {$1.19/each}, and they had enough! 


Little bronze hooks were easy enough to find, but I actually got them in sets of two at Kmart for around $2.50/set. The finishing touches were the little wooden numbers I've been hanging onto forever.


I can't remember where I actually bought them, but I do remember that they were $.50/each on clearance! I happened to have the perfect shade of blue paint on hand, so I just painted them and hot glued them in place. Some might say they're a little large for the pails, but they don't bother me...


Gosh! Isn't it c-ute?!


And Preston seems to love the easy access. He pulled his stool up to it right away and got to work. Why didn't I think of that?!


Oooohhh! I'm so in love with this entire project, and it really was super easy to do!


This post has been linked to:

Addicted 2 Decorating

Saturday, December 3, 2011

Preston's Toddler Room {DIY Activity Easel}


I've been at it again. Preston has a NEW activity easel, and we both think it's pretty fantastic!

First, we have to give credit where credit is due, because I have to be completely honest. I didn't come up with the main idea myself.


I first came across this picture on Pinterest, and I immediately knew I had to make one. You can read about the original "Alphabet Board" from Nic and Kate here.

While the original is fantastic, I just HAD to make a few additions and modifications. I started with a $10 oil drip pan from Walmart and spray painted it with chalkboard paint {three coats for extra durability}. It took two cans of spray paint total.


Next, I used 3M Command Medium Picture Hanging Strips {9 strips total} and hung it in place per package instructions. I had to play with it a few times to get it level, but it was relatively easy. My level did fall off in the process and took a small chunk of paint with it. I just touched it up with a black permanent marker though. Easy peasy! {Notice how the stamped words on the pan are almost unnoticeable once painted. The paper roll completely covers them now, since I hung the board with the letters at the top.}

A final trip to Lowe's did the trick. I purchased an ivory screw-in curtain tie back {$5.97} and a roll of floor protector paper from the paint department {$3.97}. Back at the bungalow, I screwed the tie back in place and hung the paper roll on a piece of jute twine.


The final step was to cure the chalkboard {per can instructions} and throw on the wooden alphabet magnets! For now, I hung a bucket of art supplies from a magnetic hook, but I have a few other ideas for easily accessible art supply storage. I just can't decide which direction to go, so we're going to live with it awhile first!


The total project cost was about $28, but that's still A LOT cheaper than any store bought easel!

P.S. You can score the little gnome vinyl decal from Etsy too.


By the way...

It's beginning to look a lot like Christmas!


{burlap covered poinsettia}

This post has been linked to...