Showing posts with label tutorial. Show all posts

Thursday, August 9, 2012

No Sew Curtain Hems


One of the bungalow's biggest assets is it's tall ceilings and tall windows. They allow the entire house to feel so much larger than a two bedroom home, but with big windows and tall ceilings you get areas that need longer curtains. I cannot do typical 84 inch curtains, and this drives me crazy! They are simply more affordable and readily available at retailers in an array of fun fabrics, so I get frustrated. I'm stuck searching for 95 inch curtains on a barely there budget, and that's no easy task...

I only have one window in the living room, so I only needed two panels. That's the good news. The bad news is that every curtain I found and could afford didn't come in the longer length I needed. Finally, I settled on some plain white panels for $12.99 each at Target. They were 95 inches, but when I got them home and hung, they were even too short.


They also lacked the wow factor I look for in window treatments. I kicked around ideas of stenciling them and taping them off and painting stripes, but those projects just ended in a fail. In fact, I ruined one panel and had to go back to Target to replace it. I even tried hanging a new, more substantial rod one night that I scored for $2.97. Take a look at how that ended up...


I was starting to feel defeated. I put the original rod back in place and tucked the new one back into my closet.

After racking my brain and looking at the boring panels in dismay for weeks, a light bulb came on. I had plenty of fabric left over from my stool project. I originally bought two fabrics, because I couldn't decide in the store which to use. It was only $7.99 worth of fabric left {one yard}, but it would be enough!

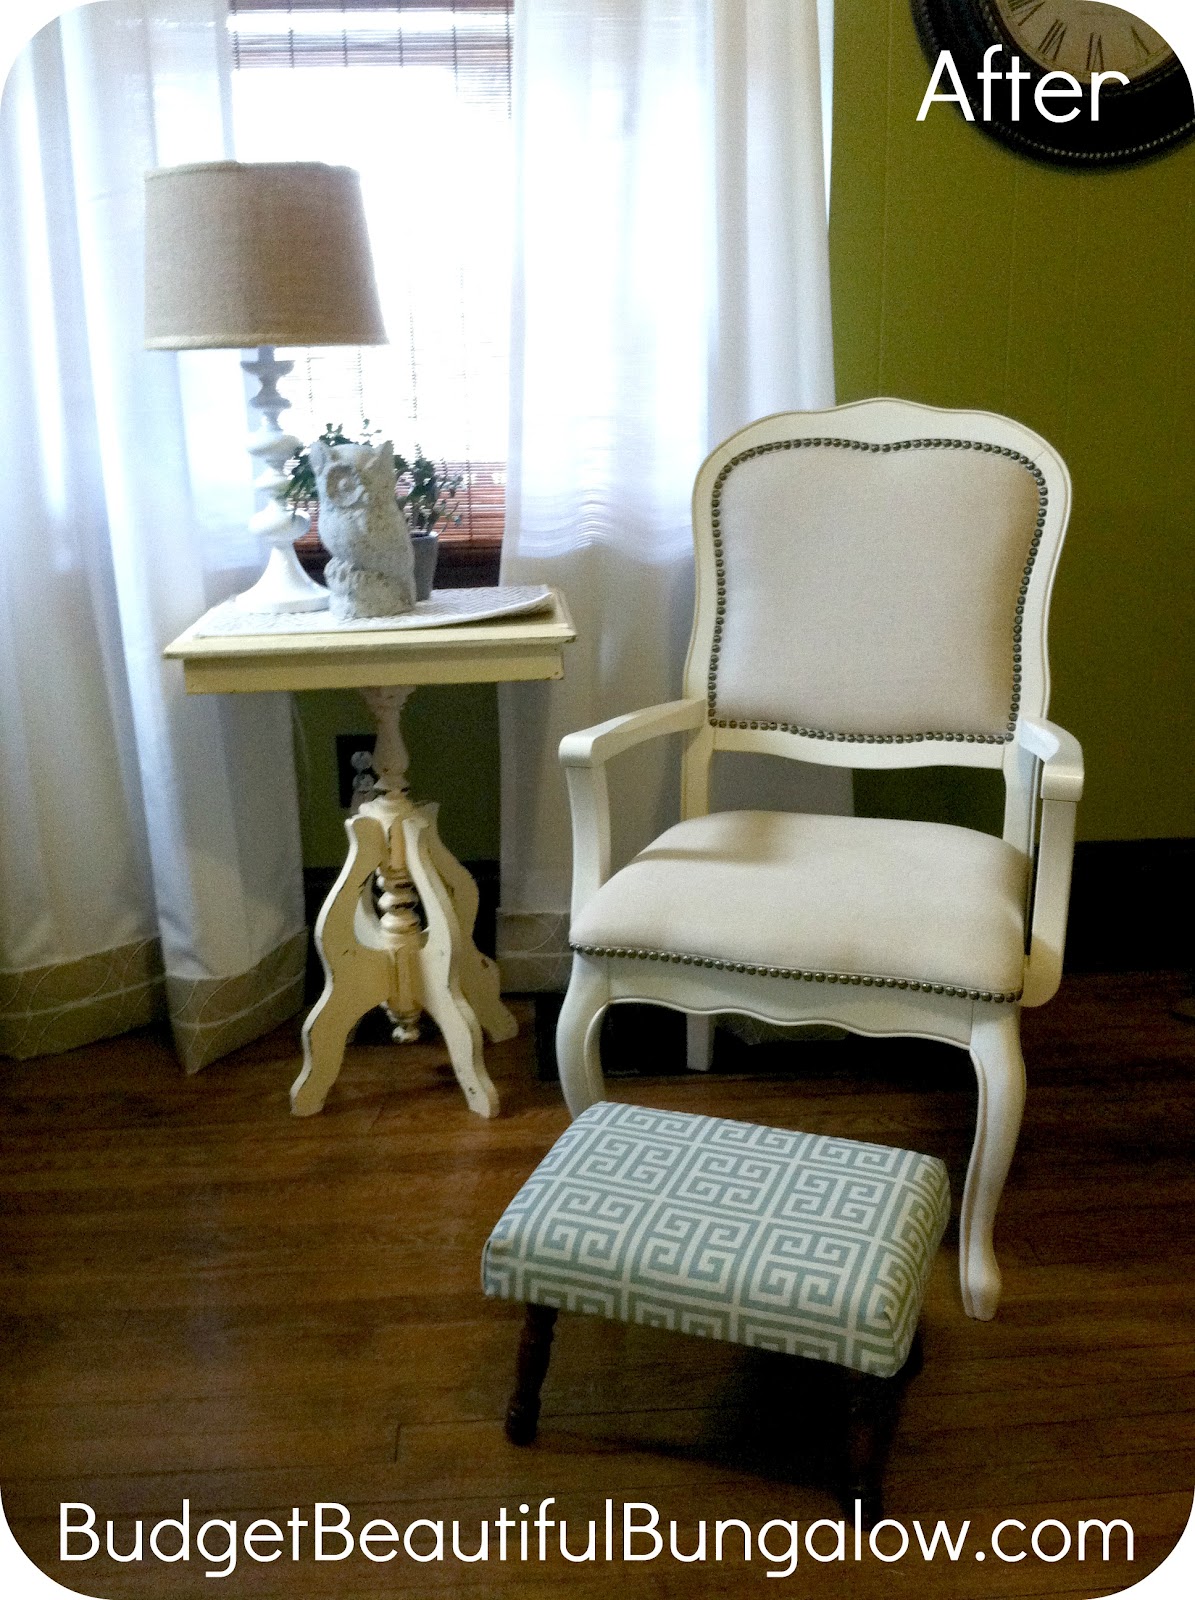
Just in case you missed it, here's the little stool...


Anyway, I'm impatient. I also don't own an actual sewing machine of my own {I borrow my mom's when I desperately need to}, BUT you bet your booty I have the BEST tool known to resourceful DIYers....a hot glue gun! I think you know where I'm going with this...


Yep! I just measured and cut the fabric to length {leaving slack for hems}. Then, I figured out how wide I needed it to be, so the finished curtains would just brush the floor. After I had my measurements right, I folded the new fabric in half, folded both top edges in and secured with hot glue. This way I had a solid strip that was finished on both sides and all the way around. I basically just glued where I would have ran a sewing machine to accomplish a finished piece. Folding the fabric in half also gave the strip more weight, so it would hang better.

I also turned in the edges on both ends and secured with glue. For the last step, I just lined my finished strip up with the existing curtain hem and glued them on using the white curtain panel hem as a straight guide. It was really easy and only took about an hour to complete the entire project! Of course, I'll never be able to wash them, but I'm not really a wash the drapes kind of chick...


I'm really pleased with the entire outcome. Now, I just need to glue/sew/buy a throw pillow for the chair...


and the before again...


That same night I framed an awesome new piece of scrapbook paper for my gallery wall.
{$.50 update}


Who's busting out their hot glue gun tonight?!


Crystal xoxo


Tuesday, January 3, 2012

A Bungalow Christmas {Better Late Than Never}

I realize Christmas is over, and we're well on our way into a fabulous New Year, but I still wanted to share some of our Christmas photos with you. School was hectic this term {and I only got a four day break between classes}, so I've been extra busy and extra sleep deprived, but I managed to squeeze a little Christmas cheer into our space. Take a look, but keep in mind that my cell phone is still the only working camera I own...


I was going for a natural, slightly handmade, inspiring tree this year. Adding jute twine to all of my bulbs was one of the ways I accomplished this look! I typically decorate in red and white for Christmas, but we needed a change around here, and I LOVE the green, ivory, gold and bronze color pallet!


Our table decor was simple this year. I used a new poinsettia and accessories from around the house.


Next, I hung some fake garland above the living room window, made a paper chain from book pages and hung a coordinating green ornament at each end. It was a nice frame for the tree...


The topper was an economical choice that did the job. It's made up of a $2 cluster of gold embellishments from Target. I just secured it to the top with a green, satin ribbon.


The tree skirt is just three yards of cream burlap wrapped around the tree stand {that I'll reuse for later projects}. It was another necessary economical choice, because my only tree skirt happens to be red and white! No sewing for this project either. Bonus!


Another handmade element to the tree was my burlap garland. It took just one night to complete and was super easy, but it added great texture to the tree. I simply cut burlap strips and tied them on a long piece of jute. Well worth it!


Of course, my wrapping had to coordinate too! I bought that stripe paper at Walmart and the green, satin ribbon too. The jute I had on hand, and the green snowflake ornaments were 4/$2 at Target. I made the initial "gift tags" myself. Thank goodness my gift giving was minimal this year, and no one had the same first initial. Note: For family gifts, I just did their last name initial. I first cut some reusable shopping bag material I had on hand into squares {originally purchased 1/2 yard at Jo-Ann}. Next, I used glitter glue to write the letters. Glitter glue is thick and doesn't run, so it worked great. Lastly, I poured on the glitter. After they were dry, I tapped the glitter off and attached them to the proper packages.


Here's a couple more shots of some random decor around the house. Because of school and work, I didn't put out an excessive amount. I wanted a quick clean up process, to minimize stress on my O.C.D. tendencies! By the way, our tree is STILL up, because I have a somewhat attached toddler on my hands. Every morning, he insists we plug in the "yight" for the "tee" and give the "tee" a "dink"!


I happened to score a GREAT Christmas gift for myself on clearance too...


It's from Kmart, and was a discontinued piece! There's a story there, but I'll save it. Isn't she pretty?!?! It's the perfect solution to my not-enough-living-room-seating scenario too...


Preston helped make his own gifts for family, this year! He LOVES to paint, so this was a great activity for him to do. He also painted a wooden car for papa that I added a string to {to make it an ornament} and a wooden snowflake ornament for grammie. Ornaments are a sentimental thing in our family and the most important Christmas element. They're our Christmas Story-a sort of Christmas timeline! Santa also has a newly painted cookie plate {a pre-made white plate on clearance at Michaels for $1}. To make the ornament above, I gave Preston a pre-cut wooden circle from Michaels and some red and green paint. I encouraged him to paint it, and when it was dry I just mod podged a photo of him on top. Lastly, I hot glued a jute string for hanging!


December ended with a visit from Santa! It was Preston's second Christmas, and I kept the traditions going that we started last year. That was important to me. Christmas Eve, he opened two gifts. One was a pair of Christmas pajamas and one was a Christmas movie. We ended the night cuddling on the couch watching our movie, and he fell asleep in my arms. It was perfect.

His daddy came over Christmas Eve night to help put toys together and set up for the BIG morning. I know this isn't realistically going to happen every year, but I felt it was important for Preston to have that special time together with his parents on Christmas morning. He's so little, and it had been too long, and he loved the attention from both of us. The visit, though somewhat uncomfortable for me, went pretty well. He slept on the couch and was able to be there when Preston woke up. This arrangement worked best, since he lives an hour away now.


In my family growing up, Santa always used one special wrapping paper for me and one for my brother. It was usually something that matched our personalities, and part of the fun Christmas morning was to see our special wrapping paper. It was always different each year, and I think it helped keep the magic of Santa alive, because there would have been no way possible for him to use one of our wrapping paper rolls on our gifts if he prepared them in his workshop! I have and will continue the same tradition. We're in a serious tractor phase right now, and I couldn't find John Deere wrapping paper, but I did find a green one with deer on it! He was SO much fun Christmas morning and unwrapped his gifts like a champ with little coaxing!


I hope your Christmas was Merry & Bright! It was very memorable for me and something that I consider a hurdle. Each one of this year's firsts is going to be a challenge, but I am making the best of it and trying to keep traditions going. Preston and I went to the same tree lot to get our tree this year, but it was just us. I was somewhat emotional that night, but really proud of myself for doing it alone {can you tell I had been crying here}. Preston enjoyed looking at the trees and had serious input in the one we got. I asked the same man to take our picture as before, and he even gave me $2 off for asking him to take the picture! Sweet man.

Whew! I know that was long, so thank you for your patience. That should just about bring us up to speed. I am so grateful for each and every one of you and cannot wait to see what this year unfolds. Hurry back! "There are still good times to be had." {Name that movie line. It's a favorite of mine.}

This post has been linked here:

Saturday, December 3, 2011

Preston's Toddler Room {DIY Activity Easel}


I've been at it again. Preston has a NEW activity easel, and we both think it's pretty fantastic!

First, we have to give credit where credit is due, because I have to be completely honest. I didn't come up with the main idea myself.


I first came across this picture on Pinterest, and I immediately knew I had to make one. You can read about the original "Alphabet Board" from Nic and Kate here.

While the original is fantastic, I just HAD to make a few additions and modifications. I started with a $10 oil drip pan from Walmart and spray painted it with chalkboard paint {three coats for extra durability}. It took two cans of spray paint total.


Next, I used 3M Command Medium Picture Hanging Strips {9 strips total} and hung it in place per package instructions. I had to play with it a few times to get it level, but it was relatively easy. My level did fall off in the process and took a small chunk of paint with it. I just touched it up with a black permanent marker though. Easy peasy! {Notice how the stamped words on the pan are almost unnoticeable once painted. The paper roll completely covers them now, since I hung the board with the letters at the top.}

A final trip to Lowe's did the trick. I purchased an ivory screw-in curtain tie back {$5.97} and a roll of floor protector paper from the paint department {$3.97}. Back at the bungalow, I screwed the tie back in place and hung the paper roll on a piece of jute twine.


The final step was to cure the chalkboard {per can instructions} and throw on the wooden alphabet magnets! For now, I hung a bucket of art supplies from a magnetic hook, but I have a few other ideas for easily accessible art supply storage. I just can't decide which direction to go, so we're going to live with it awhile first!


The total project cost was about $28, but that's still A LOT cheaper than any store bought easel!

P.S. You can score the little gnome vinyl decal from Etsy too.


By the way...

It's beginning to look a lot like Christmas!


{burlap covered poinsettia}

This post has been linked to...


Friday, November 11, 2011

Bundt Pan Pedestal Tutorial

Recently, I came across two vintage bundt pans at a local antique mall. The booth was selling them for $3 each plus 20% off, and I especially loved the patina on one of them. Being the not-so-antique-expert that I am, I came to the conclusion that they were in great shape and worth the price. Besides, I wasn't going to be baking with them anyway...


Next, I went on a mad hunt for a wooden candle holder, or anything, that could support the two pans and allow for storage space between. The original plan was to spray paint it a funky color. Plus, whatever it was had to be just as wide as the bundt pan centers-to ensure it would look right.

After hitting my favorite local hot spots, a light bulb came on! A short vintage wooden spool would do the trick AND give me the look I was after without paint! Third Shift immediately came to mind. It's a wonderful Etsy shop FULL of vintage treasures. Because of their massive stock, I was sure they'd have something that would work, and they did! Two days and $8 later, I had my hands on this beauty...


My plan was already set. I would use my E-6000 glue {available at Michaels or Walmart} to attach the spool to the pans. Starting with the bottom pan {slightly larger of the two}, I glued the spool in place. Next, I glued the second pan on top and let it sit for 24 hours {per glue instructions}.


I am thrilled with the results and the versatility of this piece. I think it will work as a fruit pedestal in my kitchen or dining room or as a craft caddy in my office! I'll probably play with it and move it from room to room though. Who knows where it will end up next...


This post has been linked up to Home Stories A 2 Z


Thursday, September 22, 2011

A Paper Flower Tutorial {Fall Wreath}

Fall is my favorite time of year. It always has been. Always. The smell of apple cider, pumpkins, little yellow school buses back on the roads again, changing leaves, adorable and creative Halloween costumes, a special night each year where a child can be ANYTHING they want to be, breezes and cozy houses, and Sunday afternoons filled with a good LifeTime movie...you get the drift. This fall has snuck up on me in a crazy haze of uncharted territory, stress and anxiety. With divorce lawyer meetings and job hunting and worrying and hurting and worrying some more, it JUST occurred to me that fall's here, and I LOVE this time of year, so I'm going to do my very best to embrace it this year too. Darn it! Even if I have to slap myself happy! So....

I was recently inspired by a wreath I saw in this post by Sarah from Thrifty Decor Chick. Her flower wreath was adorable, and I knew I could probably pull some version of it off. She used felt, and that was my original intention too, but I went to my craft stash, and I wasn't inspired by any of my left over felt. Since there is practically no budget these days {and by practically I really mean none}, I decided to use pages from an old book I had on hand and make paper flowers! This suited my personal style better anyway. I'm kind of a paper/letters/words/quotes/anything literature sort of nerd...

Of course, I bought a grapevine wreath at Michael's {for just $2.50} about a week ago. I hung it up. Blank. And there it sat, until I worked up the nerve to actually attempt the flowers, but once I jumped in, I had NO idea what I was so paranoid about. They were super easy, and sort of addicting, to make! This is what my finished wreath looks like...


Some of the feedback on my Facebook page is that it's a little plain, and I thought so too at first. I toyed around with the idea of adding copper glitter to just the flowers, but then I decided that I like the neutral/natural look of it, and I might have to have it hang around for awhile, so I like it just the way it is. For now, anyway!

Ok. First things first. How do you make those adorable little flowers? Gather whatever medium you plan on making the flowers out of, a pen, a glass or cup, scissors and your hot glue gun. Then, using the cup, trace a circle on your material.


Click on the photo to enlarge


Next, cut it out. Then, cut a swirl around the paper {like you learned in first grade and thought was the coolest technique ever}. After that, start from the inside and wrap it around until you create a flower. You can adjust the size of your flower by how tight you wrap, so play with it and make a variety of sizes. Now, turn the flower over and give it a good dose of hot glue. Hold it together carefully until the glue dries enough to support the flower. Repeat until you have as many flowers as you want.


Click on the photo to enlarge

The last step is the fun part! Start hot gluing those puppies wherever you want on your wreath. As I got going, I realized I wanted something else on it too, so I dug out some burlap{ish} ribbon I had leftover from a project and played with it on the wreath. To give it interest, I decided to make loops and glue it down every inch or so. Then, I liked how the end of the ribbon was naturally curling, so I played with that and glued it in an interesting resting place. Lastly, I finished the ends of the ribbon off with my paper flowers in a random pattern.


The wreath went back up on the front door {a house original from 1941}, but I didn't hang it on my typical bronze wreath hook. I decided to hang it on a decorative hook that you'd most likely see in a mudroom or kitchen {or somewhere someone needed a hook}...


I bought the hook at Hobby Lobby about seven years ago {or more}, but I do have one that I painted robin's egg/light turquoise{ish}. It's available for sale in my Etsy shop.

Anyway, I liked making the flowers SO much that I decided to give the lonely little wreath hanging on our dining room mirror a face lift too...


I'd love to hear about your flower making shenanigans {or any other paper crafts you've LOVED doing}, so comment or leave a link to those posts below! Let me know if you're just as addicted to making them as I am or if you'll never be attempting this again...

This post has been linked to The Inspired Room's 2011 Fall Nesting Party! Click the picture to join the fun!