Showing posts with label art. Show all posts

Tuesday, September 18, 2012

Address Canvas Art

It's been awhile since I got out some craft supplies and created something for myself, but I got the itch tonight!


I have an excess of 8x10 blank canvases {thanks to a stellar Michael's sale}. I also have tons of paints and permanent markers and a small collection of skeleton keys, but it's my Martha Stewart stencils that have been begging to come out and play...
 
 What I'm getting at is that this little project was FREE!
{and you already know I cannot get enough of that}
 
 
I measured out the middle of the canvas first. Next, I mixed my own shade of gray acrylic paint {with a dark gray and some white}, and stenciled away. Then, I wrote out my street name free hand with a green marker and went over it with a gray one to add a little detail and interest. Lastly, I glued a skeleton key in place.
 
{Voila}
 
Quick and super easy!
 
I happen to think it's pretty cute too, and the imperfections just add a little bit of charm. After all, this bungalow is anything but perfect. It's also kind of fitting that our front door lock is original and also a skeleton key hole...


Crystal xoxo

Saturday, December 3, 2011

Preston's Toddler Room {DIY Activity Easel}


I've been at it again. Preston has a NEW activity easel, and we both think it's pretty fantastic!

First, we have to give credit where credit is due, because I have to be completely honest. I didn't come up with the main idea myself.


I first came across this picture on Pinterest, and I immediately knew I had to make one. You can read about the original "Alphabet Board" from Nic and Kate here.

While the original is fantastic, I just HAD to make a few additions and modifications. I started with a $10 oil drip pan from Walmart and spray painted it with chalkboard paint {three coats for extra durability}. It took two cans of spray paint total.


Next, I used 3M Command Medium Picture Hanging Strips {9 strips total} and hung it in place per package instructions. I had to play with it a few times to get it level, but it was relatively easy. My level did fall off in the process and took a small chunk of paint with it. I just touched it up with a black permanent marker though. Easy peasy! {Notice how the stamped words on the pan are almost unnoticeable once painted. The paper roll completely covers them now, since I hung the board with the letters at the top.}

A final trip to Lowe's did the trick. I purchased an ivory screw-in curtain tie back {$5.97} and a roll of floor protector paper from the paint department {$3.97}. Back at the bungalow, I screwed the tie back in place and hung the paper roll on a piece of jute twine.


The final step was to cure the chalkboard {per can instructions} and throw on the wooden alphabet magnets! For now, I hung a bucket of art supplies from a magnetic hook, but I have a few other ideas for easily accessible art supply storage. I just can't decide which direction to go, so we're going to live with it awhile first!


The total project cost was about $28, but that's still A LOT cheaper than any store bought easel!

P.S. You can score the little gnome vinyl decal from Etsy too.


By the way...

It's beginning to look a lot like Christmas!


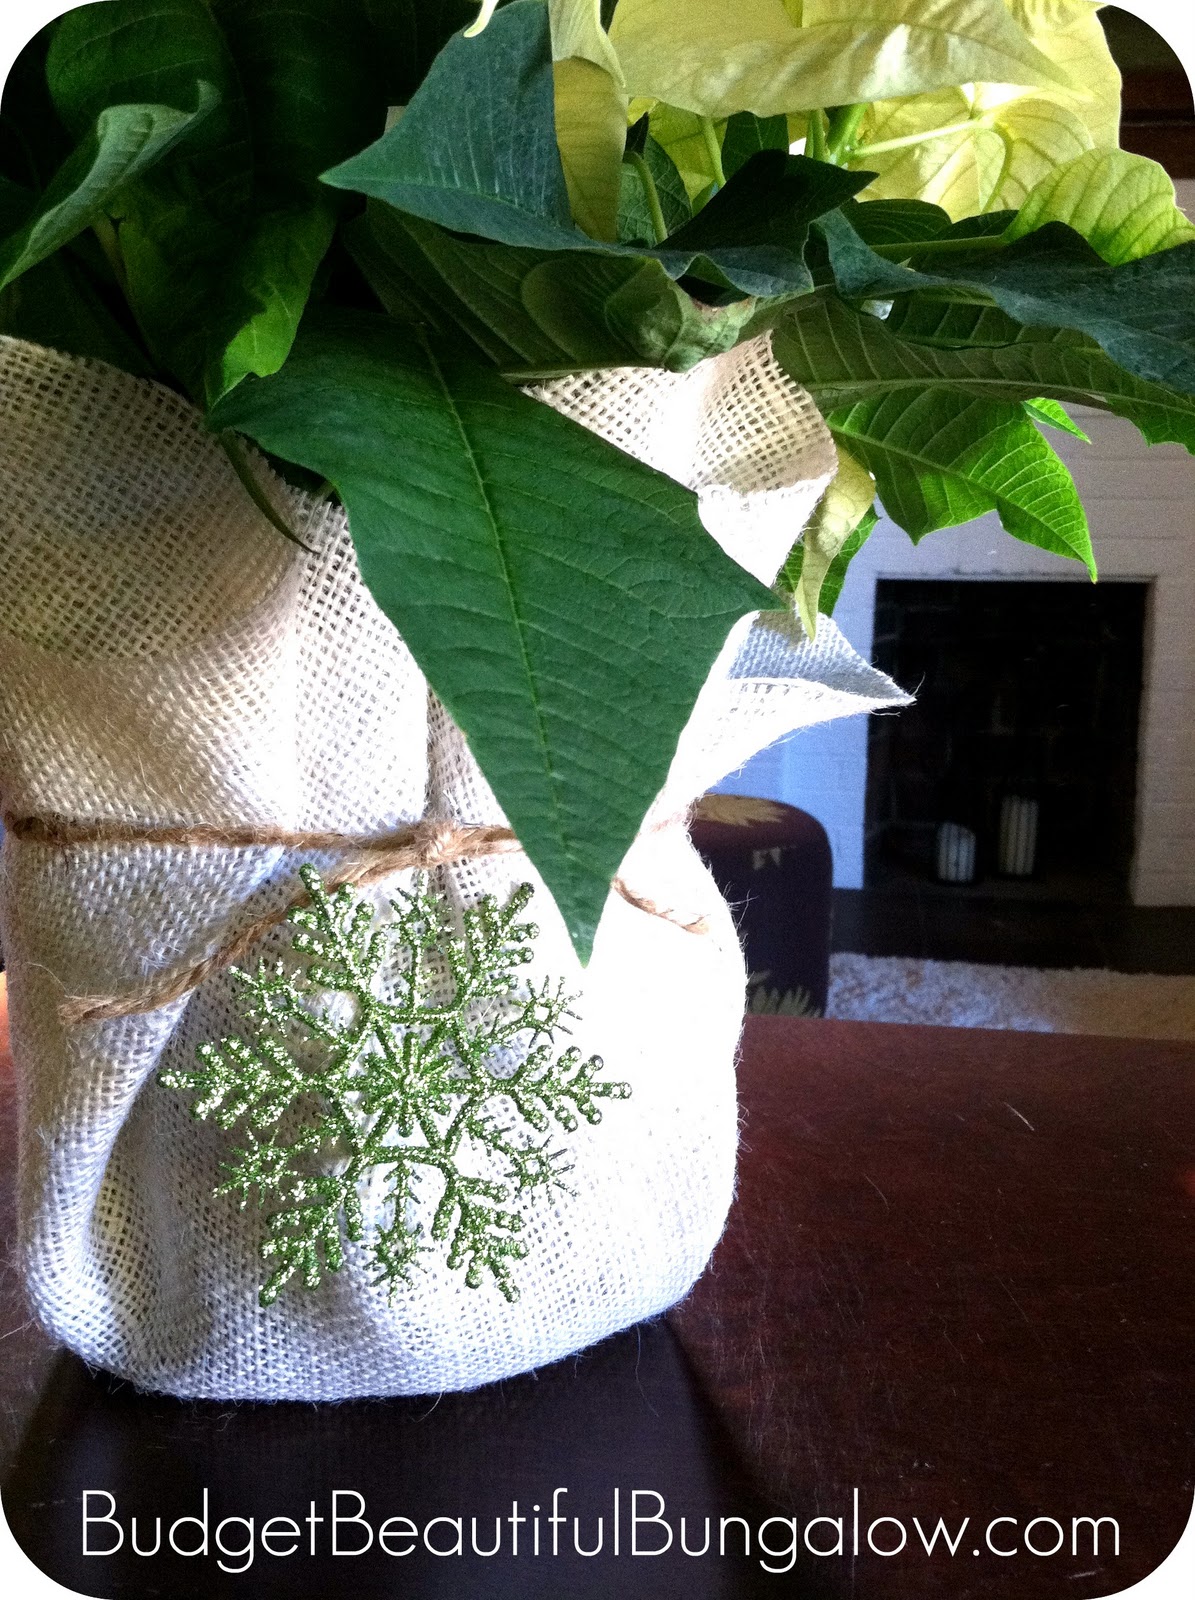
{burlap covered poinsettia}

This post has been linked to...