Showing posts with label toddler room. Show all posts

Monday, May 21, 2012

Two More Reveals {The Door is Done}

In all fairness, a lot really has been going on around the bungalow. Sometimes I get down on myself for not being as productive as I think I should be. Then, I remind myself that I'm a working, single parent who happens to also blog and run an Etsy shop. That's a pretty full plate.

After I process all of that, I sit back, put my feet up and remind myself that it's okay that every one of my projects takes double the anticipated time. It's also okay to post unstaged and imperfect pictures from time to time...


One of my most recent projects was a new storm door. You probably remember the original door post where I mention my little cleaning mishap. Anyway, it's been replaced {thanks to my dad}!

First, the broken door had to come down.


Say "hi" to my parents and Preston. It was a family affair that day!


Next, the old door had to go out to the curb. {Someone actually came and took it in the night.}


Then, we were left with a giant hole in the house. This part was a little nerve wracking!


Dad, was then able to jump into the real work!


Hours later {HOURS}, we had a beautiful new storm door installed! This took some figuring out though, and my typically handy dad seemed to struggle a bit. Let's just say that it was a process... 


Let's take a look back at what it looked like before.


Much better! Yes?

Next, was a necessary change for Preston's room. We don't have central air, and my little guy is very warm blooded, so I decided to get him a ceiling fan before summer really sets in. He started with a dreaded "boob light". {It was here when we bought the house.}


Please, ignore the poor picture quality. I'm still relying on my cell phone for all my photo capturing.


Anyway, I decided to go with the same ceiling fan I already have in my bedroom, and I did that for a few reasons.

First of all, I like the simple style of it. I also love the power it gives out and the overall quality of the fan. Our ceilings are pretty tall, and this fan comes with a handy remote that includes a light dimmer too. Basically, it's the perfect fan, in my bronze finish, for a modest budget. You can't go wrong with that. It's also a special order product from Lowe's, and since I work there now, a discount was taken off this time around. Score!


.
Disregard the giant toy mess. I've recently taken care of it with a new toy storage option. A post on that will come later.

I'll leave you tonight with one of my most recent favorite shots of Preston. He just came home from nine days away in Florida with my parents visiting my brother and his family. I didn't get to go, because I had to work {insert sad face}.

This was taken on the beach near Palm City. Isn't he precious?!


Crystal xoxo

Thursday, March 8, 2012

Preston's Toddler Room: As Easy as 1, 2, 3

You might remember this original post showcasing Preston's 3-in-1 easel. I have had so much fun watching him explore his artistic ability and strengthen his fine motor skills with his easel, and it's EASILY my favorite DIY project to date! I mean what's not to love?!

My only issue was finding some way to store his supplies in a handy cute way.

I racked my brain for creative solutions. Then I had an idea. I was going to keep it simple, but I needed three pails. The hunt began, and I looked and relooked everywhere. Nothing was right, or they didn't have enough on hand. I was getting frustrated!

Last week, I finally found the perfect shade of red pails at Hobby Lobby {$1.19/each}, and they had enough! 


Little bronze hooks were easy enough to find, but I actually got them in sets of two at Kmart for around $2.50/set. The finishing touches were the little wooden numbers I've been hanging onto forever.


I can't remember where I actually bought them, but I do remember that they were $.50/each on clearance! I happened to have the perfect shade of blue paint on hand, so I just painted them and hot glued them in place. Some might say they're a little large for the pails, but they don't bother me...


Gosh! Isn't it c-ute?!


And Preston seems to love the easy access. He pulled his stool up to it right away and got to work. Why didn't I think of that?!


Oooohhh! I'm so in love with this entire project, and it really was super easy to do!


This post has been linked to:

Addicted 2 Decorating

Saturday, December 3, 2011

Preston's Toddler Room {DIY Activity Easel}


I've been at it again. Preston has a NEW activity easel, and we both think it's pretty fantastic!

First, we have to give credit where credit is due, because I have to be completely honest. I didn't come up with the main idea myself.


I first came across this picture on Pinterest, and I immediately knew I had to make one. You can read about the original "Alphabet Board" from Nic and Kate here.

While the original is fantastic, I just HAD to make a few additions and modifications. I started with a $10 oil drip pan from Walmart and spray painted it with chalkboard paint {three coats for extra durability}. It took two cans of spray paint total.


Next, I used 3M Command Medium Picture Hanging Strips {9 strips total} and hung it in place per package instructions. I had to play with it a few times to get it level, but it was relatively easy. My level did fall off in the process and took a small chunk of paint with it. I just touched it up with a black permanent marker though. Easy peasy! {Notice how the stamped words on the pan are almost unnoticeable once painted. The paper roll completely covers them now, since I hung the board with the letters at the top.}

A final trip to Lowe's did the trick. I purchased an ivory screw-in curtain tie back {$5.97} and a roll of floor protector paper from the paint department {$3.97}. Back at the bungalow, I screwed the tie back in place and hung the paper roll on a piece of jute twine.


The final step was to cure the chalkboard {per can instructions} and throw on the wooden alphabet magnets! For now, I hung a bucket of art supplies from a magnetic hook, but I have a few other ideas for easily accessible art supply storage. I just can't decide which direction to go, so we're going to live with it awhile first!


The total project cost was about $28, but that's still A LOT cheaper than any store bought easel!

P.S. You can score the little gnome vinyl decal from Etsy too.


By the way...

It's beginning to look a lot like Christmas!


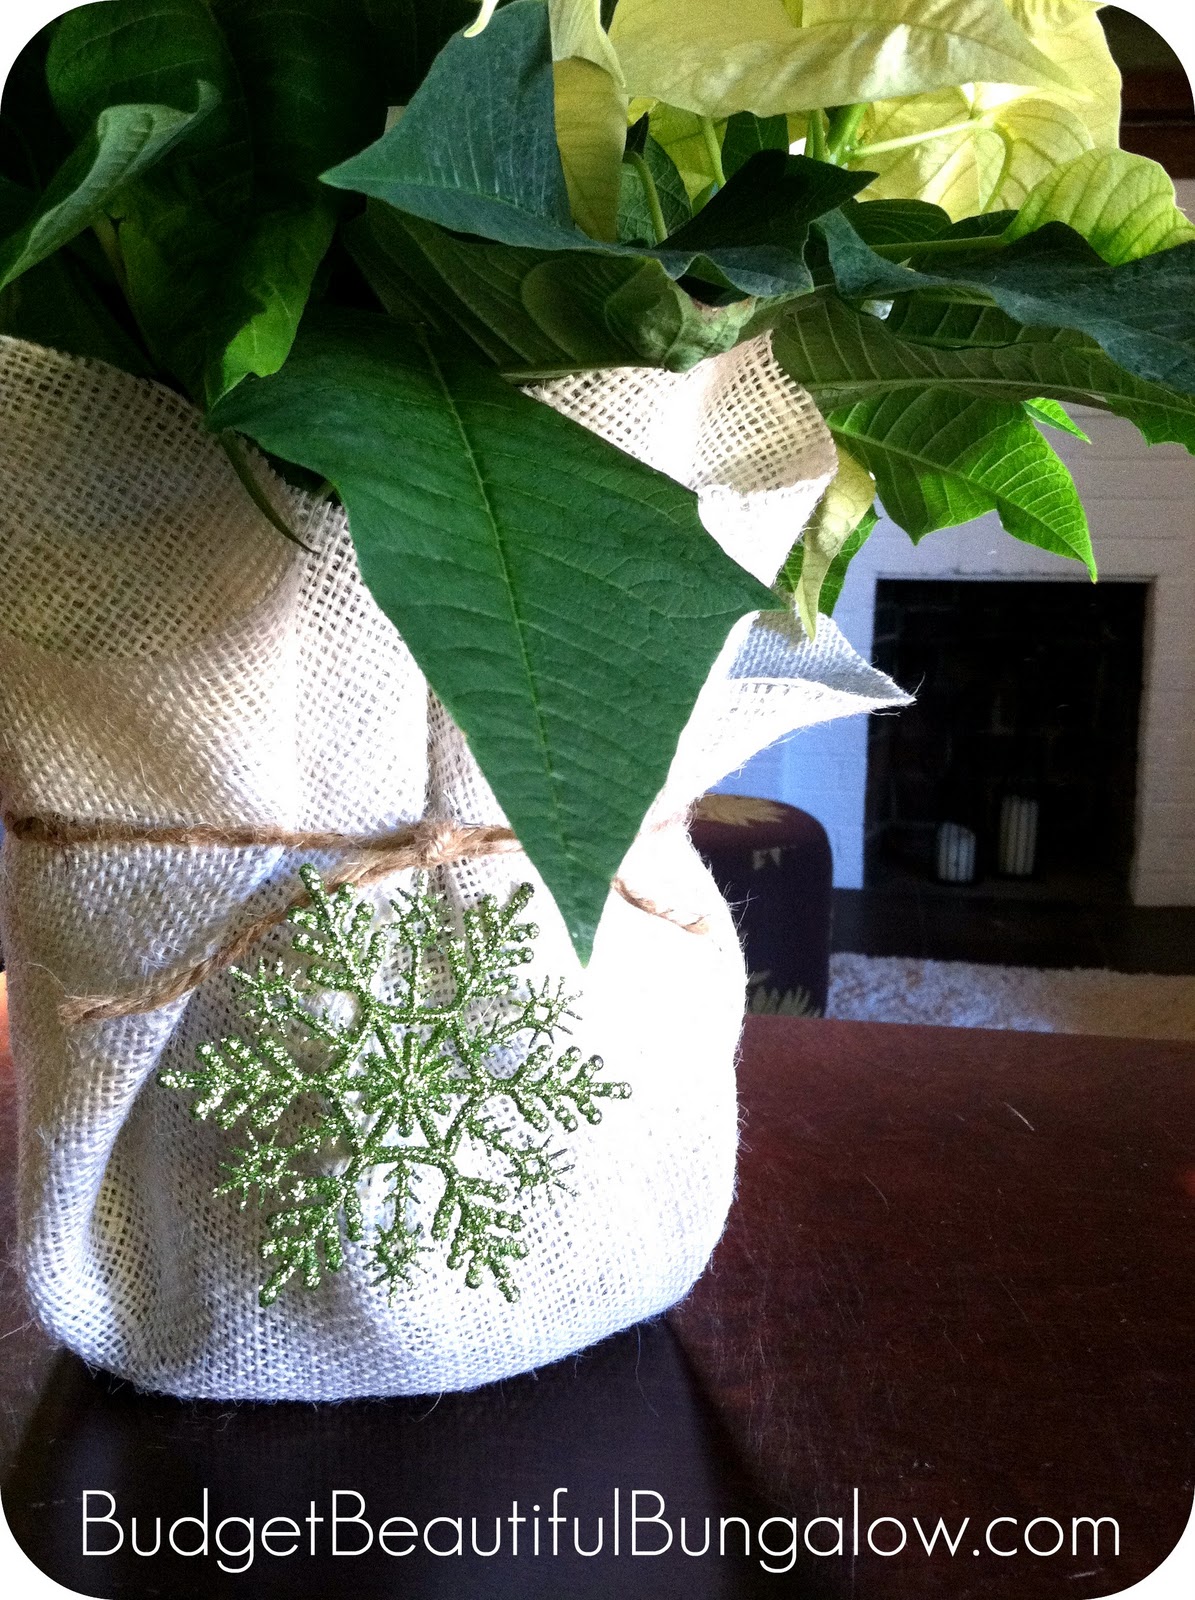
{burlap covered poinsettia}

This post has been linked to...


Tuesday, November 15, 2011

Crafts: No Monsters Allowed Sign

When preparing Preston's nursery, I knew I wanted to make it a safe and cozy place for him where he had room to grow, explore and learn. Ensuring all the scary monsters always stayed away was a key goal, so I made him this to hang above his closet...


It was an extremely easy craft that intimidated me at first. I may be a DIYer, but I'm no artist, and paint is a medium I've never excelled with! I started slowly and bought this rectangle piece of wood at Walmart. Next, I painted it ivory {using acrylic paints}. The red dots came next {also acrylic}. I used a circle sponge brush to blot the red ones on randomly. Using a plain old marker top, I added the brown circles you see {with brown acrylic paint}. Knowing my limits, I decided to use a brown Sharpie to write the "No Monsters Allowed" on. Lastly, I just hot glued ribbon on the back and hung it over the closet...


Almost two years later, it's still there and looks like new. The best part is that it's just high enough to get the point across and hide the flaws!

Of course, you could put your own spin on this. Maybe simple paint and Mod Podge is more your speed. Paint the wood and just cut out letters and decoupage them on...

This post has been linked up to Home Stories A 2 Z


Tuesday, November 8, 2011

Preston's Dress-Up Corner: The Dramatic Before and After

I'm sure you all remember Preston's Dress-Up Corner...


BUT I thought you "might" appreciate this little nook ever more if you knew what it looked like when we bought this house {2009}! Brace yourself....


Then, we painted it and added wood blinds...


Next, I dolled it up for our new baby boy...


Whew! It's already seen A LOT of changes, but I like the current one the very best...


Momma loves you, Preston, and I cannot wait for a zillion lazy afternoons of dress-up fun!


This post has been linked here...


Preston's Toddler Room: The Saga Continues...

I'm still plugging away at Preston's Toddler Room, but I'm ready to reveal a bit more of it...


Of course, I didn't like the diagonal way I first hung the "GROW" {third picture}, but it was an easy fix! I just included that picture to show you an up close shot of my handiwork. Yep, I painted that Very Hungry Caterpillar on some unfinished Walmart wooden letters. Total cost? $8

This is what that corner looked like BEFORE...


I've also gotten the new crib wall basically done. I might tweek it a bit, but I've stretched the budget as much as I can, and this is what I ended up with...


The only "new" things here are the three vintage books above. They were $1 each, and I love that they all have "boy" in the title. I also got the two white frames at Target for $12 each and put a "happy" and a "sad" picture from his first birthday photo shoot inside them. Each frame is 11x14, but they sort of get dwarfed by the tall ceilings and empty, brown wall. I'll probably play with it some and add a few new things eventually...

I do play with his sheets and swap them out often. He has two sock monkey ones in the same print as the pillow, lamp shade and light switch plate. Although we've had to lower the crib, he does have a red gingham crib skirt that's hard to see! The red blanket gets switched out often too. I also swap out the brown changing pad cover to the same monkey fabric as the lamp shade. That brown changing pad cover matches the brown bumper though. To originally save money, I never bought a crib set. I just got individual pieces from various places to build the look I got.

Here's what that wall looked like before...


As you can see, I've kept all of the basics and obtained a new look with a few new accessories and by simply rearranging the furniture!