Showing posts with label halloween. Show all posts

Wednesday, November 21, 2012

Halloween Mantel {Better Late Than Never}

I'm currently on vacation from my day job and playing some serious catch-up on the blog front. I've also been working on new items for my Etsy shop and will be getting some new stuff listed soon! It's been awhile since I focused on my creative passions, and this little break has been a much needed refocus for my soul...
 
Anyway, I decided just to give you a quick glimpse at what the bungalow looked like this Halloween and some of the activities Preston and I did. I'm still using my phone for all of my photo needs, so bare with the horrible quality. Thank goodness for PicMonkey!


I used $1 items from my local grocery store in the garland. The gray netting was $1, and so were the set of four skeletons. I had the black ribbon on hand and reused my burlap Christmas garland from last year...


The black paper bats were from the Dollar Tree and so were the black rats and tomb stones. Everything else I gathered around the house. I probably could have made the bats, but the $1 in cost was worth the time savings for me!


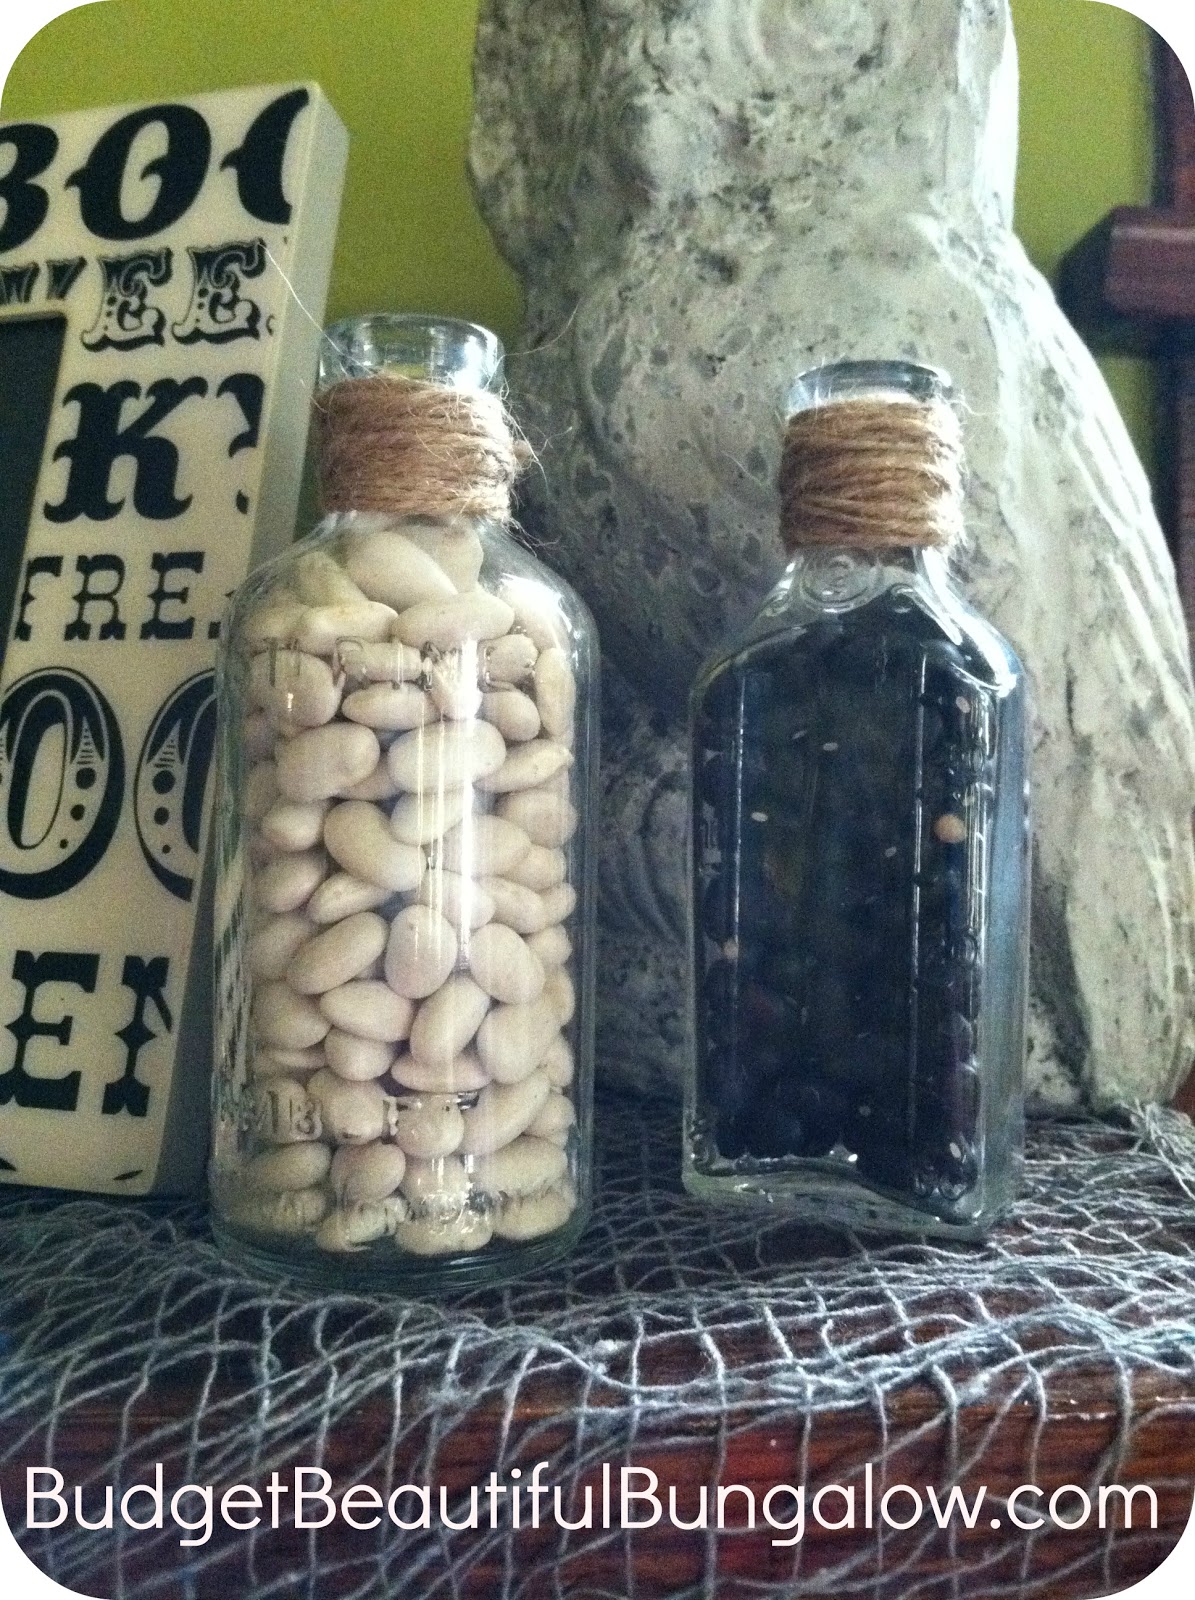
Using vintage bottles, I wrapped the tops with jute and filled them with dried beans.


Instead of carving pumpkins this year, we just painted the few that we got at the pumpkin patch. Preston had a trip to Michigan with my parents right before Halloween, and my work schedule didn't allow for it. I was a little bummed not to carry on the carving tradition, but I've learned over the last year and a half that I can't do it all. I've had to let go of some things, and while I'm getting better at that every day, it's still a personal struggle.


He doesn't appear to be "missing out" any, so I must not be doing a half bad job!


Crystal xoxo


Tuesday, November 20, 2012

$13 Handmade Halloween Costume

I have finally nailed down a full time position at work. You're looking at the newest Appliance Sales Specialist at my Lowe's store, but I still need to live frugally! While my time is even more limited now, this year I decided to make Preston's Halloween costume again and save a little moolah.


Now, I love to craft and create, but I'm no seamstress. The idea for the Mr. Potato Head costume was sparked by my little spud himself. He's in a serious Toy Story phase, and I wanted him to be excited  about whatever he was going to be too. He's getting old enough now to be very well aware of what I put on his body. He has an opinion about it too of course, and we've already gotten in a few morning clothes disagreements! He wasn't thrilled with me here either though...


It took one trip to Walmart for material and felt, and I got started. I had no real plan in mind-just a blurry vision of what I wanted. First, I simply traced his body and cut out two potato shapes. Then, I measured straps and hand sewed them in place. Using styrofoam balls, I created the eyes by covering the balls with white fabric and adding felt details. The face pieces were made of felt and hot glued together and in place on the potato. I stuffed each face piece with scrap fabric to give a 3-D effect.


Lastly, I created a butt pocket on the back with left over brown fabric {whatever fabric I bought didn't fray, so I didn't have to hem the edges of the costume}. Then, I hand cut a few additional traditional extra pieces, from felt, and hot glued them in place. The Playskool logo was found online and printed on card stock. I hot glued that in place too, and it held up all night!


I ended up hand sewing a small side panel under each arm. This kept the costume in place on his body well. A white shirt, white mittens and black hat later, and the costume was complete! Total investment was just $13!


P.S. Thanks for reading and following along. This marks my 100th post!


Crystal xoxo


Tuesday, November 1, 2011

Our Fall Family Festivities

We've been busy this Halloween season, and I wanted to share some of the festive activities we've done. Keep in mind that my camera broke at the beginning of the month, so all of these pictures were taken with my cell phone. Some are better than others, but a new camera isn't in the current budget, so I'm making due.

First, we went to the pumpkin patch! It's one of the things I look forward to all year long, and it's one of those things that I couldn't wait to share with a child of my own. Being a mommy, and having an excuse to live through his eyes again, is such a wonderful stage to be in...


Next, Preston painted a pumpkin {on the front porch of course} and added some glitter {my expensive Martha Stewart glitter}. Remind me not to make that same mistake again. He went glitter CRAZY {most of which just flew around the porch}! It's dollar store craft supplies for Mr. Glitz from now on...


Then, we carved our pumpkins...


and Preston ended up with his "tractor" pumpkin...


Lastly, we went TRICK-OR-TREATING tonight!


My little farmer had so much fun, and I had a blast watching him strut his stuff. He was pretty proud of himself {and his "tractor" gear}, and he caught on to the whole "I get candy" thing by the second house. Although we practiced "trick-or-treat", and he could say it, he must of gotten too excited in the heat of the moment. He walked right up to each person {scary or not}, held out his pail and said "More! More!" That was followed by a "tank you" and then a "bye-bye" and he was off to the next house!


The idea of "Farmer Preston" came naturally, because this child says "tractor" more than 100 times a day. Literally. As soon as he opens his eyes, he's pointing to his tractor blanket, and asking to put on his tractor boots, and carrying his tractor book {a John Deere children's product catalog} around all day, and playing with his toy tractors...you get the idea. The kid lives, breathes and drinks it. Yep. He even has two tractor sippie cups...

The idea was the perfect economical costume for us this year too. Everything can be reworn as every day gear, and we already had some of the pieces. I bought the "milk pail" candy bucket at a tractor supply store for $3.49 and just used my Cricut to cut out the letters. Lastly, I  Mod Podged them on! Easy peasy, and he must have loved it too, because he refused to let that thing go! The finishing touches were the red hankie that I stuffed in his back pocket and the brown makeup that a smudged on his face {dirt}.

xoxo Happy Halloween xoxo

Wednesday, September 21, 2011

Country Living Inspired Funkins & Our Fall Mantel

I recently got this beauty in the mail and immediately opened it up. I HAD to know how they made the pumpkins on the front!


My mom came over the same night, magazine in hand, and said, "We have to make these!" I smiled and pulled my copy out and said, "I know!" The next night, we were at Michael's gathering supplies. (1) A few fake "funkins" that happened to be 50% off (2) scrapbook paper. I already had the rest of the supplies. (3) foam brushes (4) Mod Podge (5) Mod Podge Sealer (6) wax paper. Easy and cheap!

Monday, I arranged the "funkins" on our fall mantel to see where I wanted them...


They looked nice, but I knew it could still use a punch, so I was just as excited as ever to get started on our little project!

Last night, we got to work on my coffee table, so we could watch Teen Mom {I know. I know. I got sucked in two years ago, when I was 26 and pregnant, and I can't get out!}


The difficulty level for this project is easy, but I do recommend a decent chunk of time and a small amount of patience...

We started by laying down wax paper and filling a bowl with Mod Podge. Then, we cut our scrapbook paper into strips {smaller strips for the small pumpkins work best and 1-1.5" strips for the larger ones}. It took about two-three pieces of 12x12 paper for the small and 3-4 pieces for the larger pumpkins, so make sure you have enough of the SAME pattern! Then, we applied the Mod Podge on the paper strip and placed it on the pumpkin {starting from the stem and smoothing down}. Repeat. About 75 times {maybe a slight exaggeration}. Then, we coated each pumpkin with two coats of Mod Podge {allowing about an hour between each coat}. Today, I put them all outside and gave them two coats of Mod Podge Sealer {allowing at least 15 minutes between coats}. Note: We started with the smaller pumpkins, thinking it would be easier, but the larger ones were much easier and quicker!


My mom made two black and white ones, to match her decor {photo one}, and I made three pumpkins in shades of browns, khakis and a burnt orange {photo two}, but they even look great grouped together {photo three}!


Now, my fall mantel is complete, and I am beyond thrilled!


I already had most of the accessories, but I did get that little skull for $1.99 at Michael's and the two skeleton keys for $1 each there too {I just strung them on a piece of jute twine}. The three amber candle holders came from Target and were $1.99 each. Other recent finds include two milk glass vases for $3 each and my little owl for $.79 at a local consignment store. I just spray painted the owl!

I hope this has inspired you. Please, comment and leave a link to your blog post if you decide to make these "funkins" too or post a picture to our Facebook wall! Fall is finally here, ladies! Eeeekkk!

This post has been linked to The Inspired Room's 2011 Fall Nesting Party! Click the picture to join the fun!


This post is also linked to Finger Prints on the Fridge "Feature Yourself Friday".

This post is also linked to The Lettered Cottage "Autumn Link Party". Click the picture to join the fun!


Friday, September 16, 2011

Halloween {and a lack of progress}

You'll soon discover that Halloween is one of my favorite holidays! I've always found it kind of odd though, because I hate scary movies! Anyway, I don't claim to make sense. I'll even admit that deep, deep, deep down {in a hushed voice}, I'm kind of a BIG dork! The good news is that I'm totally comfortable with that little known fact.

Anyway, now that I went WAY off topic...what was I talking about again? Oh...HALLOWEEN! So, today was one of those rainy, gray, breezy, damp days that just felt like fall {and I enjoyed every second of it}! Naturally, it got me thinking about fall and Halloween decor and Preston's 2nd Halloween costume! Last year, I already had it all planned out and waiting in his closet by now. Heck. I even had time for a DIY photo shoot and sent out photo cards to our entire family.

This isn't the actual photo card I sent out. It's just a little Picnik project, but wasn't my little scarecrow a DOLL?!
This year, I've done....NOTHING, and I hate that feeling. It's only September, but I'm already freaking out that I'm running out of time. On top of that, with everything going on {and it's been pretty consuming}, I don't have a clue about what he should be this year. Not. A. Single. Idea. Everytime I get one, it's tossed out because of some potential costume malfunction and his age. {I fear a 20 month old might refuse to wear a gnome beard, and then the whole costume is just a red turtle neck and navy sweatpants. I don't think he'll be able to sit comfortably in the stroller in a crayon get-up. Etc. Etc. Etc.} This is a tough age, because there is NO way he will do what I want him to do....Hummm....So I'm stumped. I know it will just come to me in one of those "out of no where" moments, but I'm ready for that to happen already. Momma's got work to do!