Thursday, January 19, 2012

Someone's Turning TWO

The last 24 hours has brought a sudden blessing. While I cannot share details yet, I want you all to know that prayers may have been answered! God works in mysterious ways, and peace is on the horizon for us...

With the good energy flowing, I thought it was a perfect time to mention a very special birthday that's coming up! Preston's going to be TWO in less than a month {February 17th}, and we have a lot to celebrate this year!

Last year, I was a stay-at-home-mom and in a much different place, so I went ALL OUT with a "P" theme {Preston, polka dots, pails, popsicles, punch, popcorn, puzzle pieces, pretzels, pinwheels, peanuts, poms, pizza, etc}...


This year, I'm just not THAT organized, so I'm scaling things down a bit. I have decided on a tractor theme, because that's our current phase {and it still fits into my NO CHARACTER rule}. We're just inviting a few friends over for cupcakes and pizza, and then I'm taking him to the aquarium the next day. Low key, but budget chic! I've already bought cupcake liners and paper straws from HeyYoYo {one of my favorite Etsy shops}, and I have a few other details in the works. It should be a "Big Green" hit...


Tractor treat bag photo from chickabug.


Tuesday, January 10, 2012

50 and Fab

Somebody pinch me! 

All along my goal for the blog was to reach 50 followers before I allowed myself a pat on the back and to pursue advertisers, and we just met the mark! All is right in my little world, and I am one honored lady to have all of you visit the bungalow often. It's been a slight roller coaster over here, but we have gradually grown and gained recognition in the blogosphere...

Thank you.

Thank you.

Thank you.

YOU make my days brighter and are such a resource of support for me. 

There may be some minor visual changes coming soon, as time allows for me to get the ball rolling, so please be patient with those. Good things are on the horizon (on many fronts), and I cannot wait to continue to share my decorating projects and moments of single mommy hood with each one of you.


This happy print can be found on my Pinterest board Wild About Words. I'd love to see you come visit me over on Pinterest too...You can follow me here!

Now, I have a little surprise. In honor of this milestone, I'd like to do a little giveaway! Simply leave a comment on THIS POST by midnight January 16th to be entered. Don't forget to leave your email address, so I can notify the winner. The prize will be announced tomorrow via Facebook, and a winner will be announced January 17th...

xoxo


Tuesday, January 3, 2012

A Bungalow Christmas {Better Late Than Never}

I realize Christmas is over, and we're well on our way into a fabulous New Year, but I still wanted to share some of our Christmas photos with you. School was hectic this term {and I only got a four day break between classes}, so I've been extra busy and extra sleep deprived, but I managed to squeeze a little Christmas cheer into our space. Take a look, but keep in mind that my cell phone is still the only working camera I own...


I was going for a natural, slightly handmade, inspiring tree this year. Adding jute twine to all of my bulbs was one of the ways I accomplished this look! I typically decorate in red and white for Christmas, but we needed a change around here, and I LOVE the green, ivory, gold and bronze color pallet!


Our table decor was simple this year. I used a new poinsettia and accessories from around the house.


Next, I hung some fake garland above the living room window, made a paper chain from book pages and hung a coordinating green ornament at each end. It was a nice frame for the tree...


The topper was an economical choice that did the job. It's made up of a $2 cluster of gold embellishments from Target. I just secured it to the top with a green, satin ribbon.


The tree skirt is just three yards of cream burlap wrapped around the tree stand {that I'll reuse for later projects}. It was another necessary economical choice, because my only tree skirt happens to be red and white! No sewing for this project either. Bonus!


Another handmade element to the tree was my burlap garland. It took just one night to complete and was super easy, but it added great texture to the tree. I simply cut burlap strips and tied them on a long piece of jute. Well worth it!


Of course, my wrapping had to coordinate too! I bought that stripe paper at Walmart and the green, satin ribbon too. The jute I had on hand, and the green snowflake ornaments were 4/$2 at Target. I made the initial "gift tags" myself. Thank goodness my gift giving was minimal this year, and no one had the same first initial. Note: For family gifts, I just did their last name initial. I first cut some reusable shopping bag material I had on hand into squares {originally purchased 1/2 yard at Jo-Ann}. Next, I used glitter glue to write the letters. Glitter glue is thick and doesn't run, so it worked great. Lastly, I poured on the glitter. After they were dry, I tapped the glitter off and attached them to the proper packages.


Here's a couple more shots of some random decor around the house. Because of school and work, I didn't put out an excessive amount. I wanted a quick clean up process, to minimize stress on my O.C.D. tendencies! By the way, our tree is STILL up, because I have a somewhat attached toddler on my hands. Every morning, he insists we plug in the "yight" for the "tee" and give the "tee" a "dink"!


I happened to score a GREAT Christmas gift for myself on clearance too...


It's from Kmart, and was a discontinued piece! There's a story there, but I'll save it. Isn't she pretty?!?! It's the perfect solution to my not-enough-living-room-seating scenario too...


Preston helped make his own gifts for family, this year! He LOVES to paint, so this was a great activity for him to do. He also painted a wooden car for papa that I added a string to {to make it an ornament} and a wooden snowflake ornament for grammie. Ornaments are a sentimental thing in our family and the most important Christmas element. They're our Christmas Story-a sort of Christmas timeline! Santa also has a newly painted cookie plate {a pre-made white plate on clearance at Michaels for $1}. To make the ornament above, I gave Preston a pre-cut wooden circle from Michaels and some red and green paint. I encouraged him to paint it, and when it was dry I just mod podged a photo of him on top. Lastly, I hot glued a jute string for hanging!


December ended with a visit from Santa! It was Preston's second Christmas, and I kept the traditions going that we started last year. That was important to me. Christmas Eve, he opened two gifts. One was a pair of Christmas pajamas and one was a Christmas movie. We ended the night cuddling on the couch watching our movie, and he fell asleep in my arms. It was perfect.

His daddy came over Christmas Eve night to help put toys together and set up for the BIG morning. I know this isn't realistically going to happen every year, but I felt it was important for Preston to have that special time together with his parents on Christmas morning. He's so little, and it had been too long, and he loved the attention from both of us. The visit, though somewhat uncomfortable for me, went pretty well. He slept on the couch and was able to be there when Preston woke up. This arrangement worked best, since he lives an hour away now.


In my family growing up, Santa always used one special wrapping paper for me and one for my brother. It was usually something that matched our personalities, and part of the fun Christmas morning was to see our special wrapping paper. It was always different each year, and I think it helped keep the magic of Santa alive, because there would have been no way possible for him to use one of our wrapping paper rolls on our gifts if he prepared them in his workshop! I have and will continue the same tradition. We're in a serious tractor phase right now, and I couldn't find John Deere wrapping paper, but I did find a green one with deer on it! He was SO much fun Christmas morning and unwrapped his gifts like a champ with little coaxing!


I hope your Christmas was Merry & Bright! It was very memorable for me and something that I consider a hurdle. Each one of this year's firsts is going to be a challenge, but I am making the best of it and trying to keep traditions going. Preston and I went to the same tree lot to get our tree this year, but it was just us. I was somewhat emotional that night, but really proud of myself for doing it alone {can you tell I had been crying here}. Preston enjoyed looking at the trees and had serious input in the one we got. I asked the same man to take our picture as before, and he even gave me $2 off for asking him to take the picture! Sweet man.

Whew! I know that was long, so thank you for your patience. That should just about bring us up to speed. I am so grateful for each and every one of you and cannot wait to see what this year unfolds. Hurry back! "There are still good times to be had." {Name that movie line. It's a favorite of mine.}

This post has been linked here:

Wednesday, December 14, 2011

A Very Merry Giveaway


As a little incentive to help my Facebook page reach 500 fans, I'll be giving this vintage cookie cutter ornament away to a random Facebook fan. Once we reach the 500 mark, I'll randomly select one lucky winner!

Also, once my blog reaches 50 followers, I'll be giving a random blog follower a vintage bell cookie cutter ornament!  Tis the season for giving, and I want to show all of you how very blessed I feel to have your company!

Ready.

Set.

Share!

Merry Christmas!

Saturday, December 3, 2011

Preston's Toddler Room {DIY Activity Easel}


I've been at it again. Preston has a NEW activity easel, and we both think it's pretty fantastic!

First, we have to give credit where credit is due, because I have to be completely honest. I didn't come up with the main idea myself.


I first came across this picture on Pinterest, and I immediately knew I had to make one. You can read about the original "Alphabet Board" from Nic and Kate here.

While the original is fantastic, I just HAD to make a few additions and modifications. I started with a $10 oil drip pan from Walmart and spray painted it with chalkboard paint {three coats for extra durability}. It took two cans of spray paint total.


Next, I used 3M Command Medium Picture Hanging Strips {9 strips total} and hung it in place per package instructions. I had to play with it a few times to get it level, but it was relatively easy. My level did fall off in the process and took a small chunk of paint with it. I just touched it up with a black permanent marker though. Easy peasy! {Notice how the stamped words on the pan are almost unnoticeable once painted. The paper roll completely covers them now, since I hung the board with the letters at the top.}

A final trip to Lowe's did the trick. I purchased an ivory screw-in curtain tie back {$5.97} and a roll of floor protector paper from the paint department {$3.97}. Back at the bungalow, I screwed the tie back in place and hung the paper roll on a piece of jute twine.


The final step was to cure the chalkboard {per can instructions} and throw on the wooden alphabet magnets! For now, I hung a bucket of art supplies from a magnetic hook, but I have a few other ideas for easily accessible art supply storage. I just can't decide which direction to go, so we're going to live with it awhile first!


The total project cost was about $28, but that's still A LOT cheaper than any store bought easel!

P.S. You can score the little gnome vinyl decal from Etsy too.


By the way...

It's beginning to look a lot like Christmas!


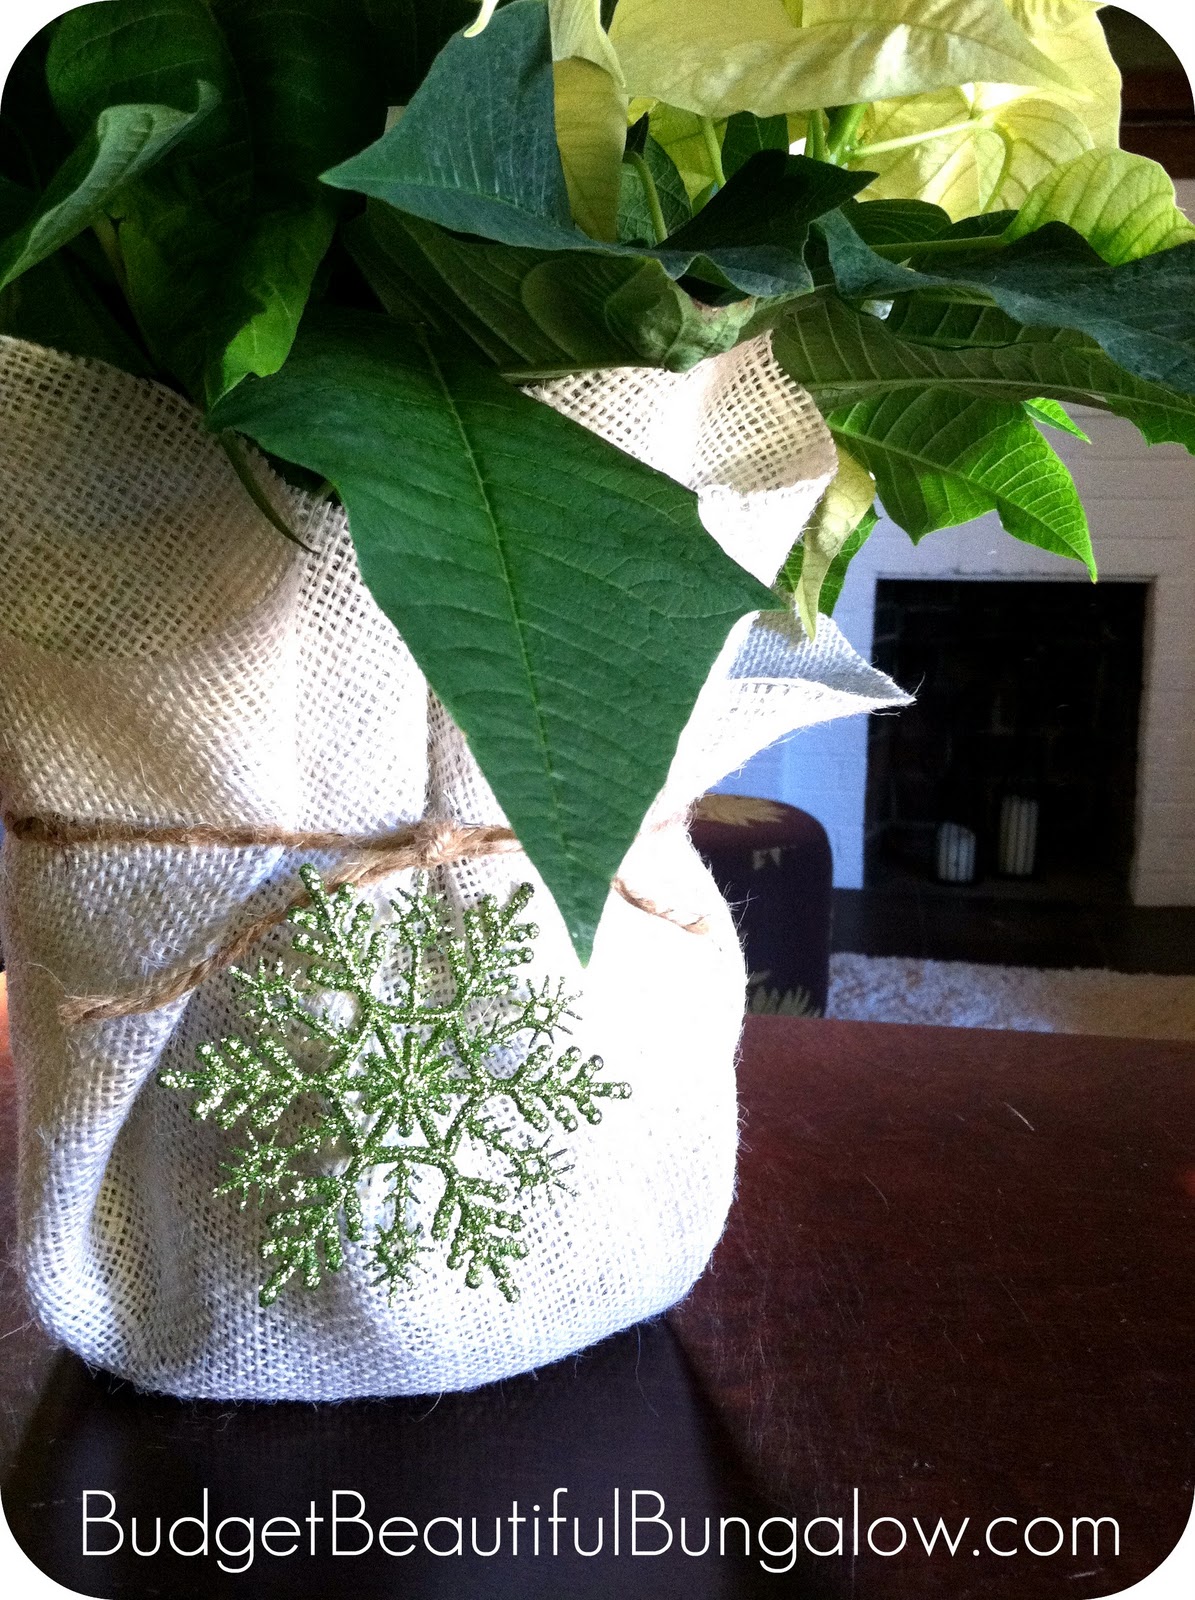
{burlap covered poinsettia}

This post has been linked to...


Tuesday, November 15, 2011

Crafts: No Monsters Allowed Sign

When preparing Preston's nursery, I knew I wanted to make it a safe and cozy place for him where he had room to grow, explore and learn. Ensuring all the scary monsters always stayed away was a key goal, so I made him this to hang above his closet...


It was an extremely easy craft that intimidated me at first. I may be a DIYer, but I'm no artist, and paint is a medium I've never excelled with! I started slowly and bought this rectangle piece of wood at Walmart. Next, I painted it ivory {using acrylic paints}. The red dots came next {also acrylic}. I used a circle sponge brush to blot the red ones on randomly. Using a plain old marker top, I added the brown circles you see {with brown acrylic paint}. Knowing my limits, I decided to use a brown Sharpie to write the "No Monsters Allowed" on. Lastly, I just hot glued ribbon on the back and hung it over the closet...


Almost two years later, it's still there and looks like new. The best part is that it's just high enough to get the point across and hide the flaws!

Of course, you could put your own spin on this. Maybe simple paint and Mod Podge is more your speed. Paint the wood and just cut out letters and decoupage them on...

This post has been linked up to Home Stories A 2 Z


Friday, November 11, 2011

Bundt Pan Pedestal Tutorial

Recently, I came across two vintage bundt pans at a local antique mall. The booth was selling them for $3 each plus 20% off, and I especially loved the patina on one of them. Being the not-so-antique-expert that I am, I came to the conclusion that they were in great shape and worth the price. Besides, I wasn't going to be baking with them anyway...


Next, I went on a mad hunt for a wooden candle holder, or anything, that could support the two pans and allow for storage space between. The original plan was to spray paint it a funky color. Plus, whatever it was had to be just as wide as the bundt pan centers-to ensure it would look right.

After hitting my favorite local hot spots, a light bulb came on! A short vintage wooden spool would do the trick AND give me the look I was after without paint! Third Shift immediately came to mind. It's a wonderful Etsy shop FULL of vintage treasures. Because of their massive stock, I was sure they'd have something that would work, and they did! Two days and $8 later, I had my hands on this beauty...


My plan was already set. I would use my E-6000 glue {available at Michaels or Walmart} to attach the spool to the pans. Starting with the bottom pan {slightly larger of the two}, I glued the spool in place. Next, I glued the second pan on top and let it sit for 24 hours {per glue instructions}.


I am thrilled with the results and the versatility of this piece. I think it will work as a fruit pedestal in my kitchen or dining room or as a craft caddy in my office! I'll probably play with it and move it from room to room though. Who knows where it will end up next...


This post has been linked up to Home Stories A 2 Z